7.14 Integration Guide – Zoho Books
Follow the steps below to successfully integrate with Zoho Books Accounting system.
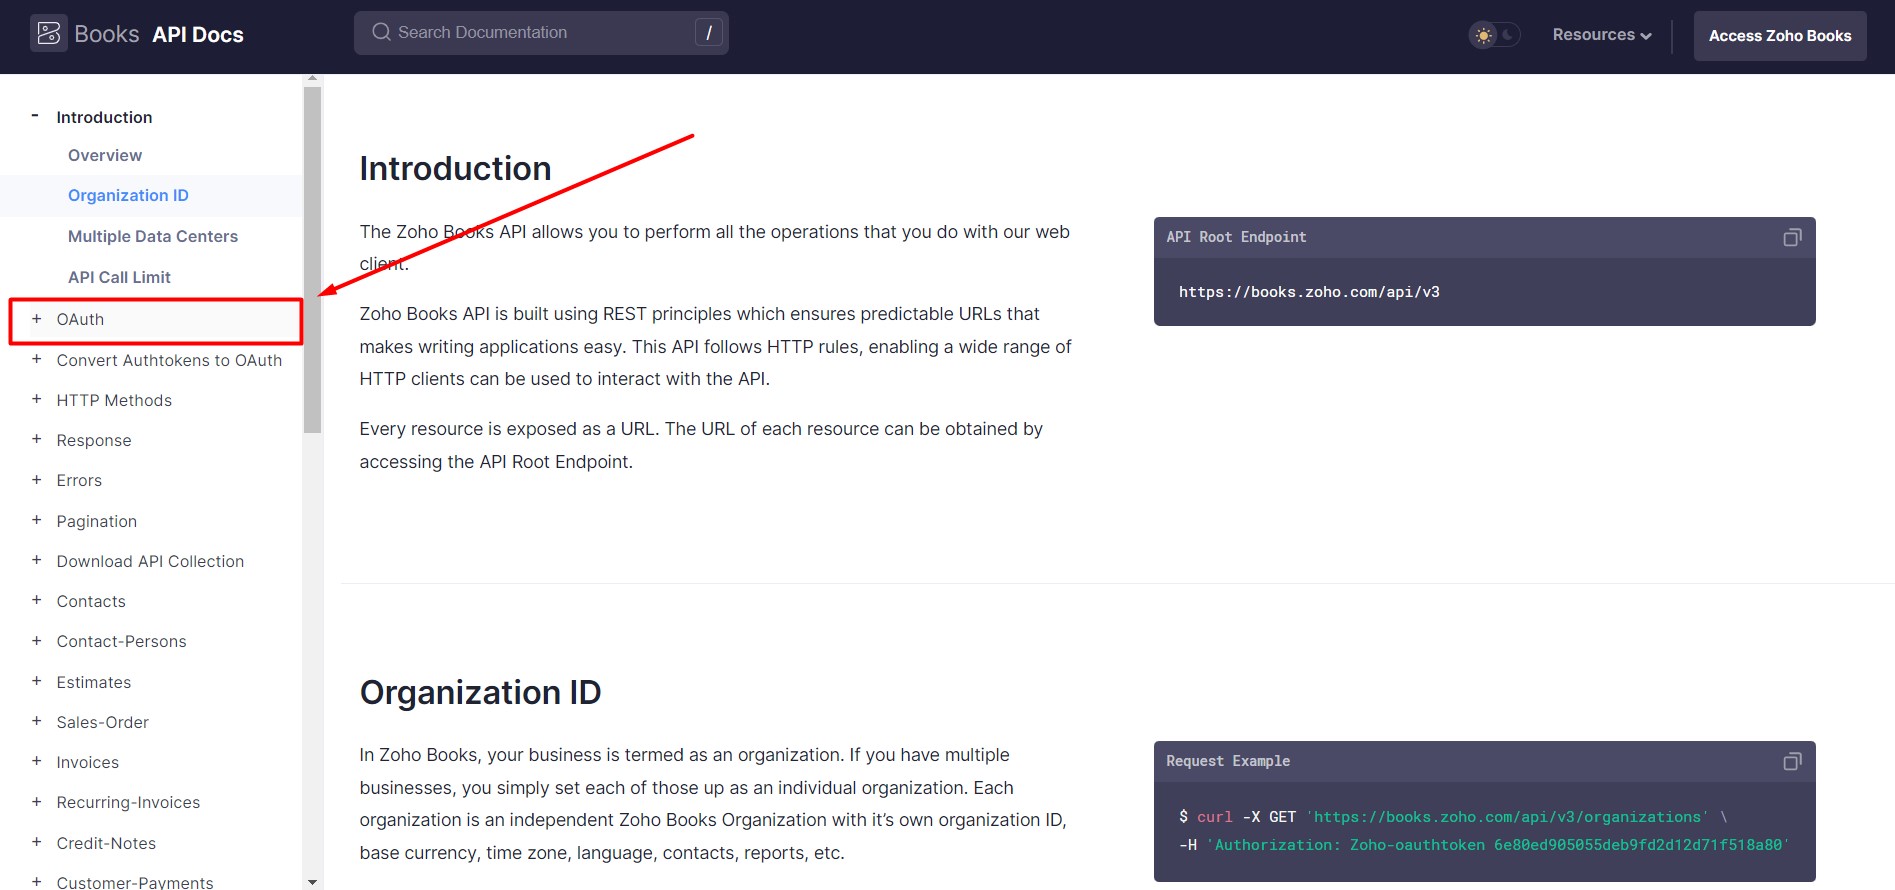
1. Follow to Zoho Books API Docs page.
2. Find on the left side of the bar OAuth tab – click to open it.

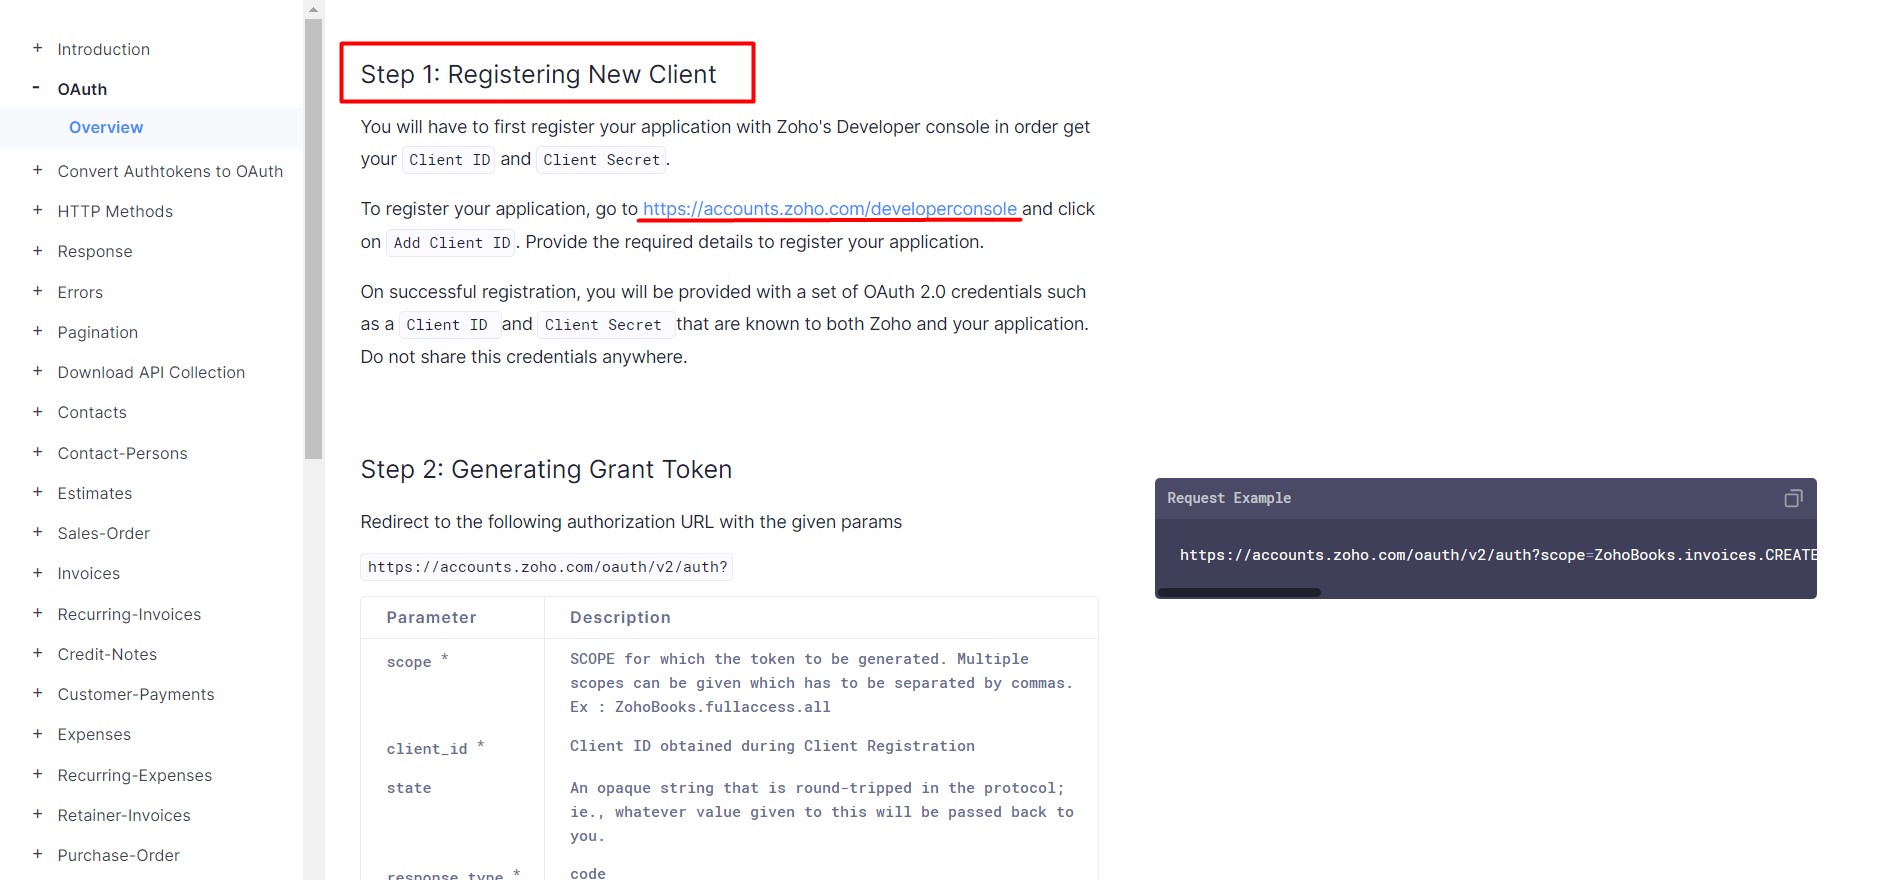
3. Here you will have to register your application with Zoho’s Developer console in order to get your Client id and Client Secret. To register your application, go to Developer Console and click on Add Client id. Provide the required details to register your application.

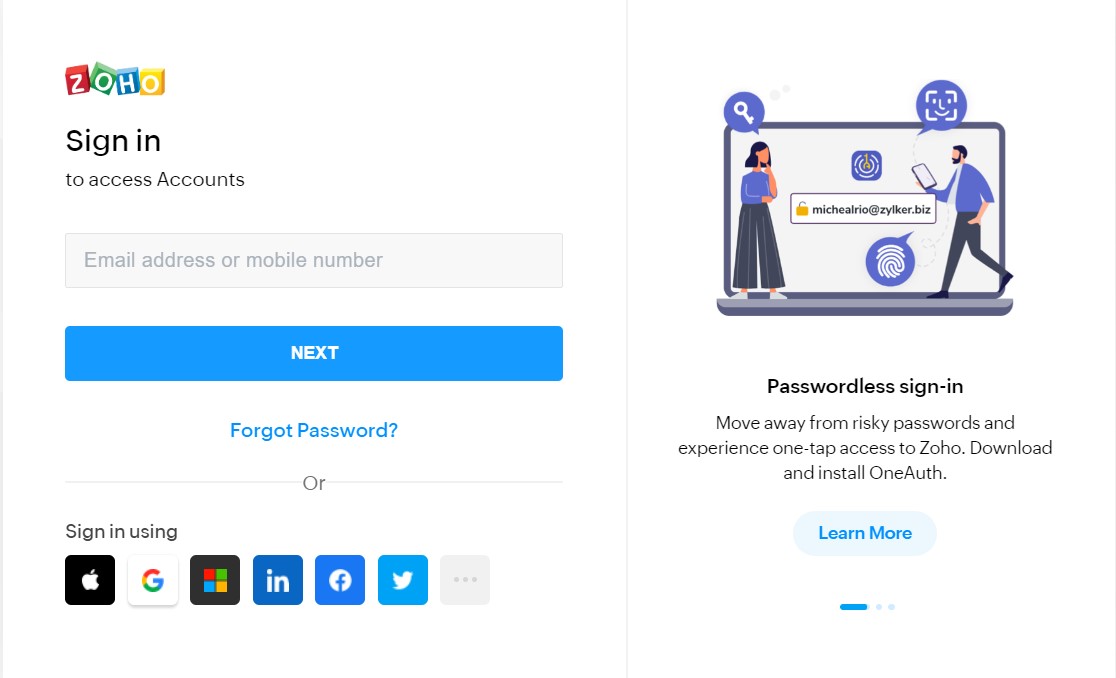
4. By entering the Developers console, Zoho may ask you to login again into your Zoho Books account.
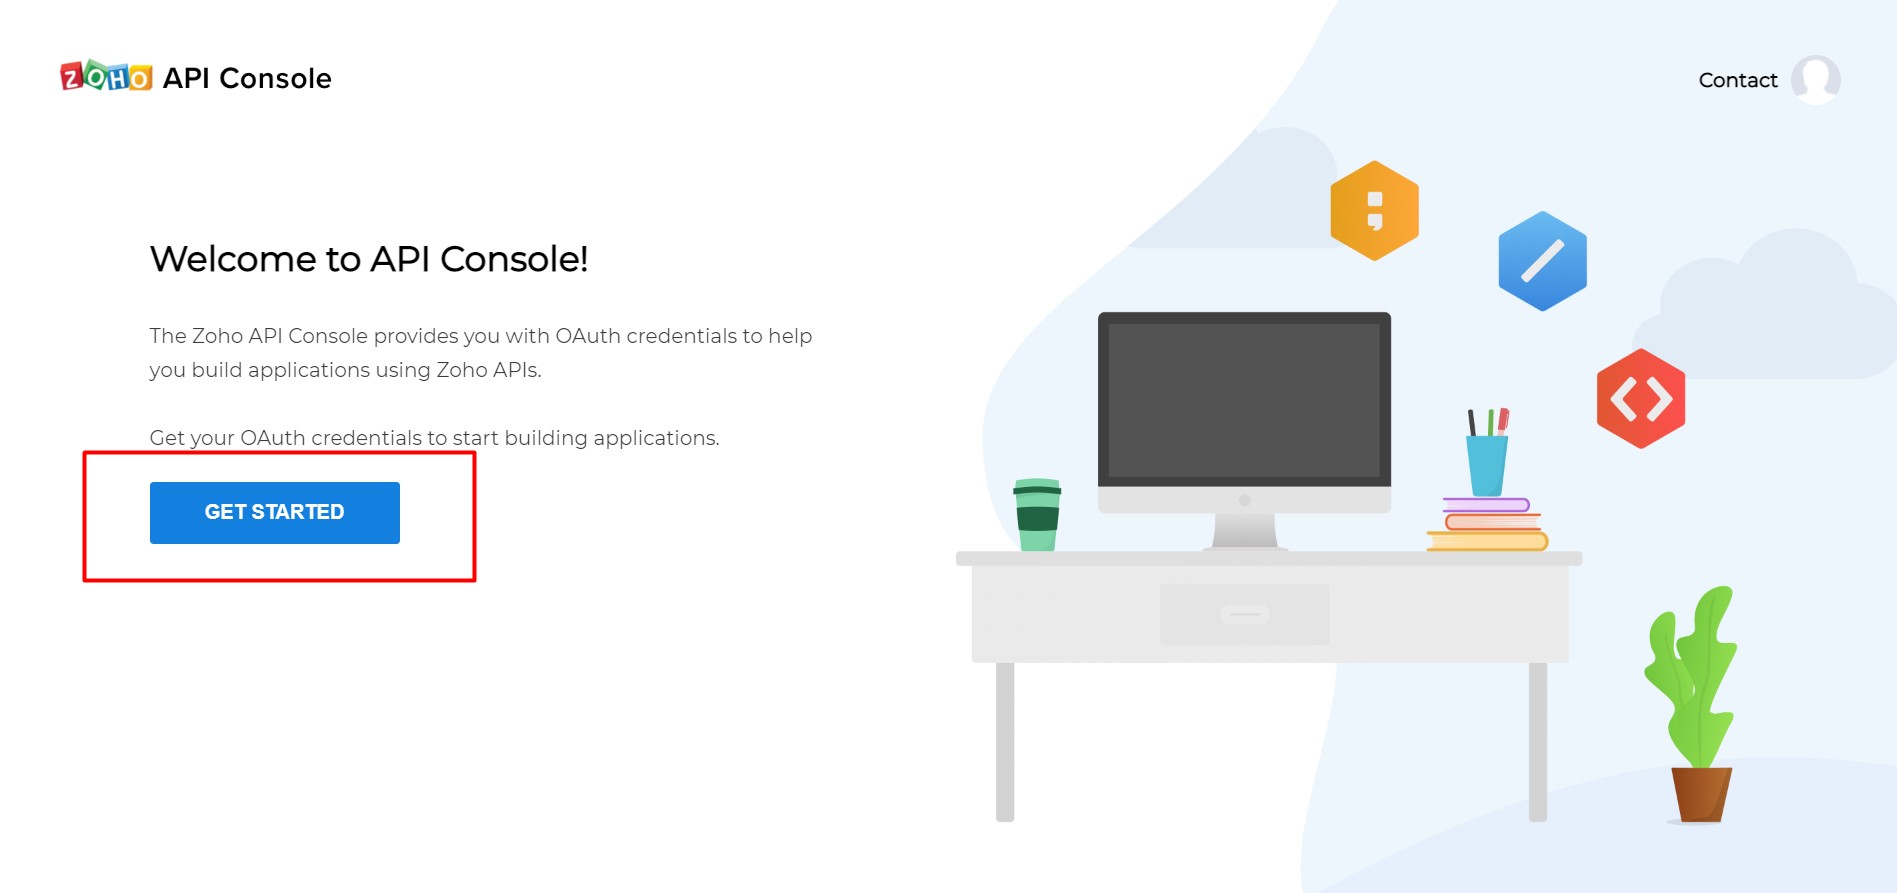
5. On the next action you need to click Get started to get credentials.

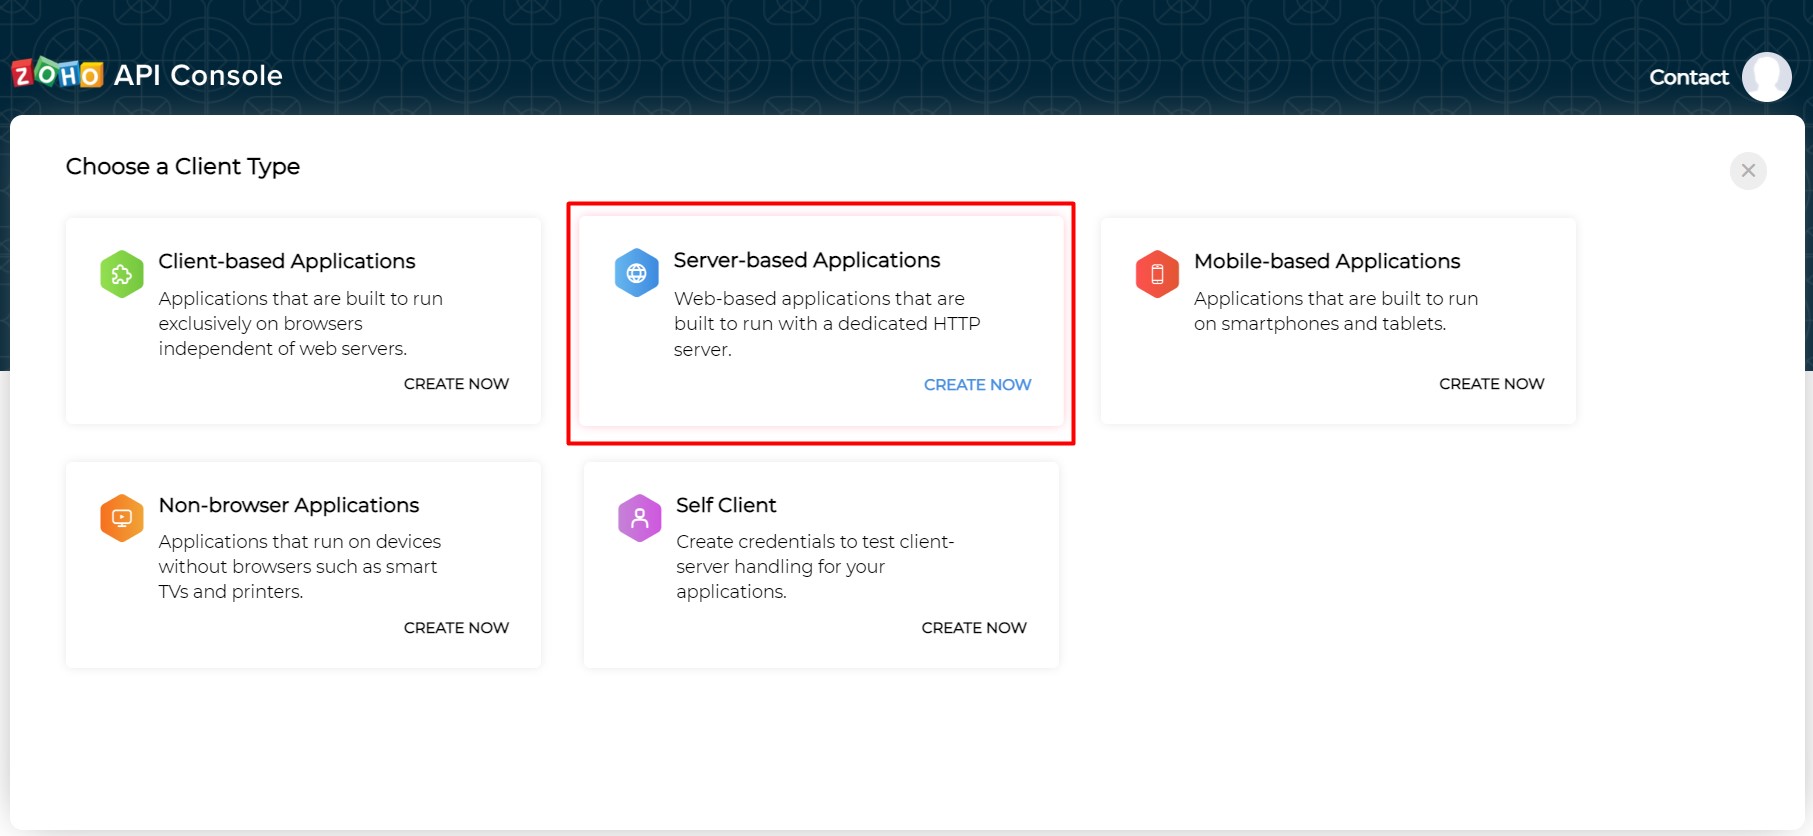
6. Choose Server-based Applications, as in the screenshot below.

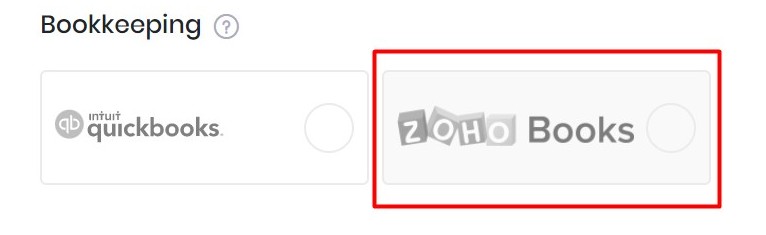
7. Now open your RentSyst account and follow to the Settings >> Integration & Agents >> Bookkeeping >> Choose Zoho Books.

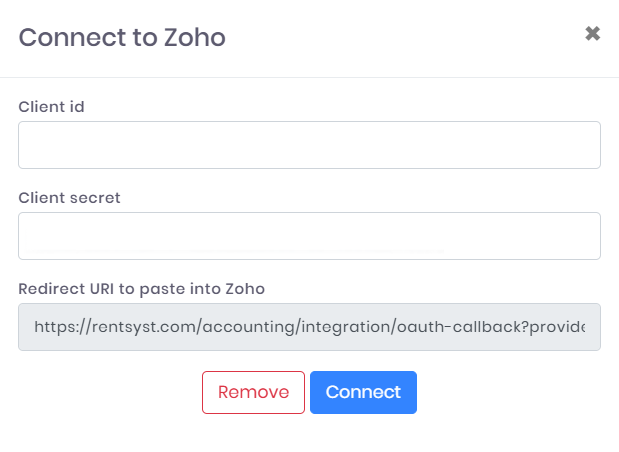
8. Here you will see a pop-up window where you can create integration with Zoho Books. Pay attention to the last field Redirect URL – its located inside integration window (see screen below)
You need to copy this link to paste it to your Zoho Account.
9. Now go back to the Zoho window. Mark here following data and press Create button:
Client name – this can be Rentsyst or your organization name.
Homepage URL – rentsyst.com
Authorized Redirect URLs – paste from Rentsyst Zoho pop-up window
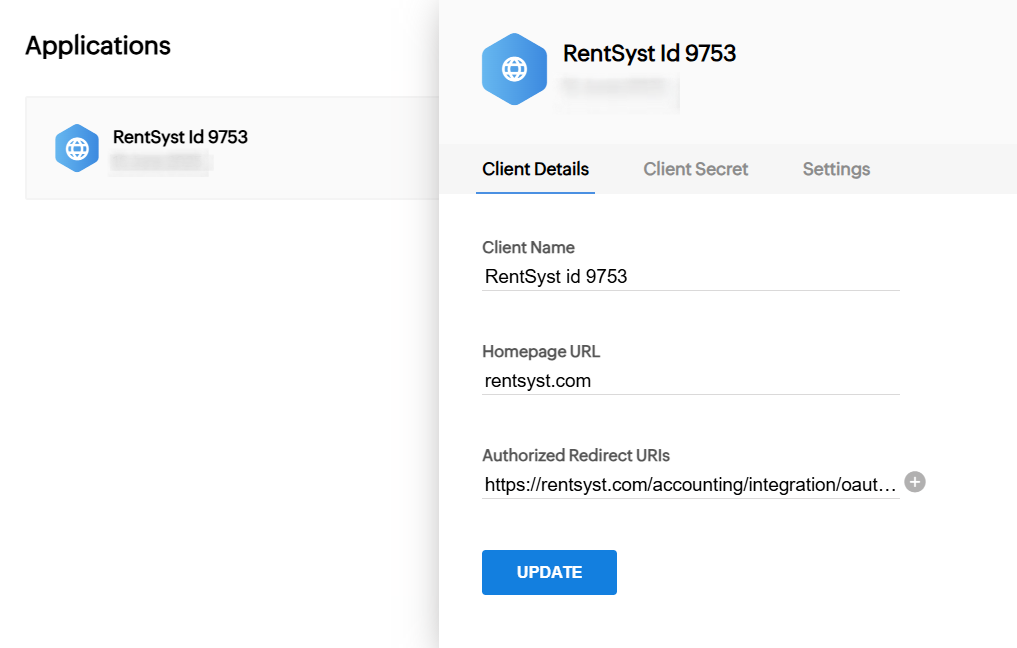
10. Great. Now Zoho Books is automatically created for your account Client id and Client Secret. Copy these credentials.
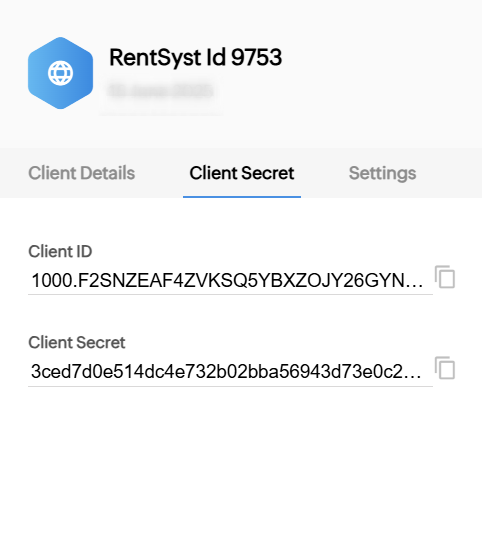
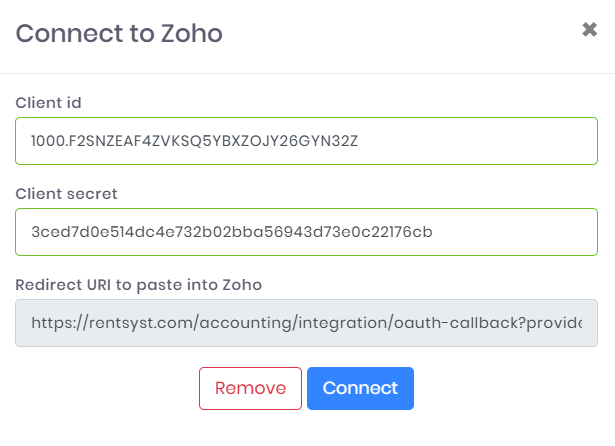
11. Put Client id and Client Secret into your RentSyst account to Zoho Books integration window.
See screen as a sample:
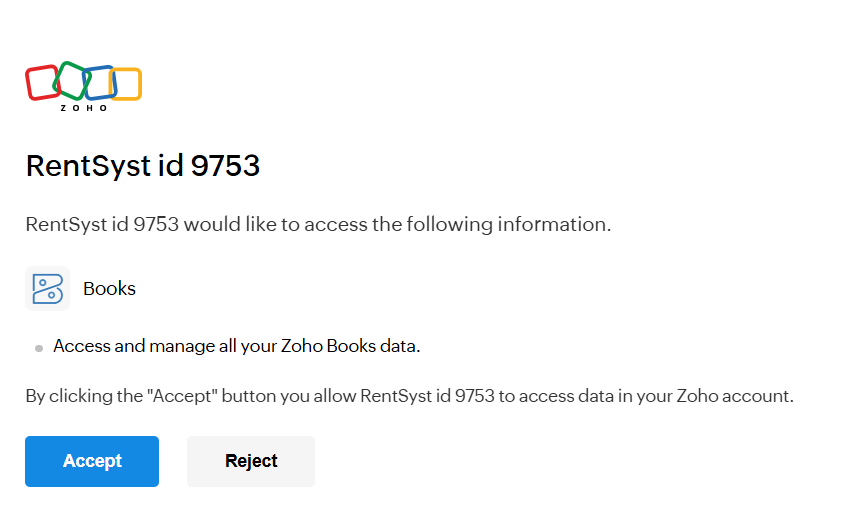
12. Perfect, you are almost at the target. Click again on the Zoho Books icon inside RentSyst account – you will need to approve a permission request from Rentsyst inside your Zoho account.
Click Accept.
13. You will have a new field called Organization – choose one account which will be available from the list.

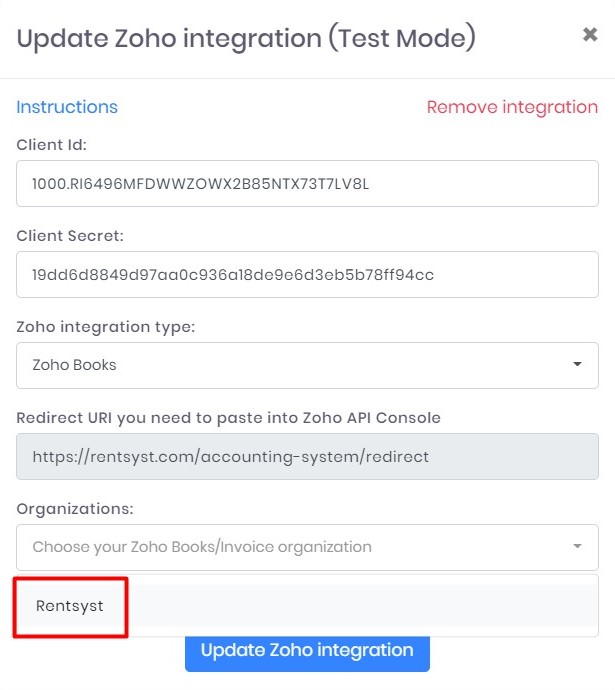
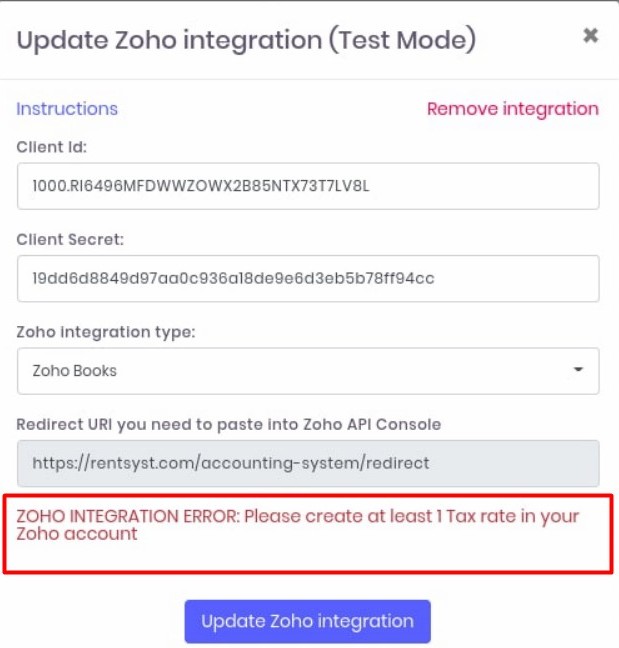
14. Press Update Zoho integration.
There should be a red notification below that you need to create at least 1 Tax rate in your Zoho account. This is an important part, so pay attention to taxes. It means that you will need to set up and custom the same TAX as you have inside RentSyst. If you already have same tax rates and you dont have such notification, you can skip that part.

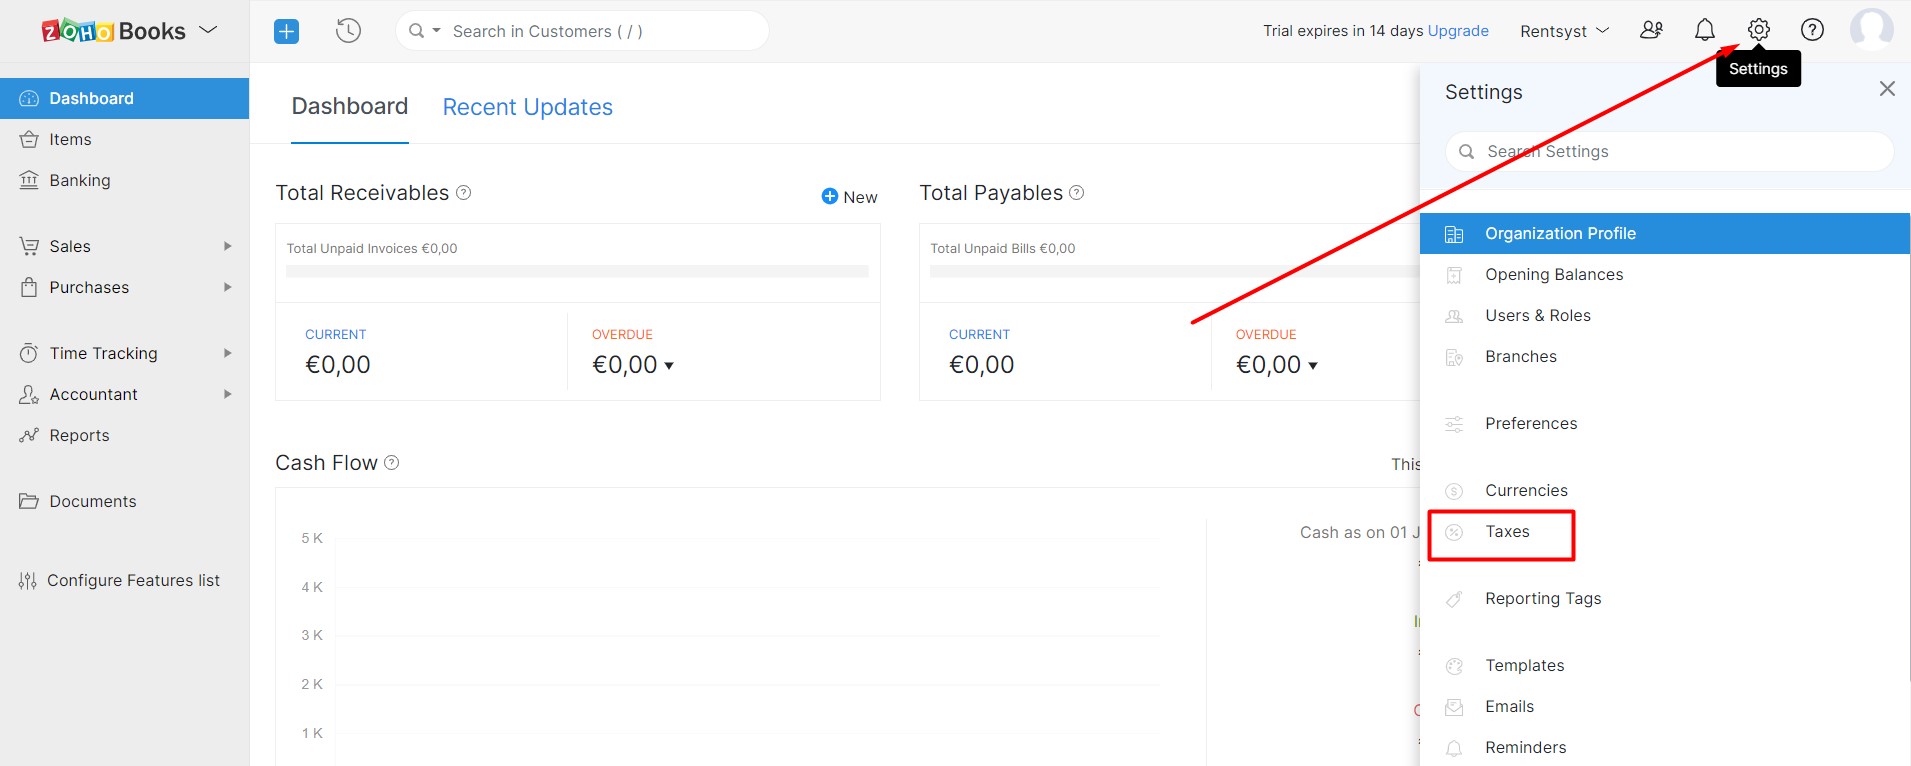
15. It is important to add the same TAX rates to Zoho as you have in your RentSyst account. To add it, please go inside your Zoho Books account >> Setting >> choose TAX.

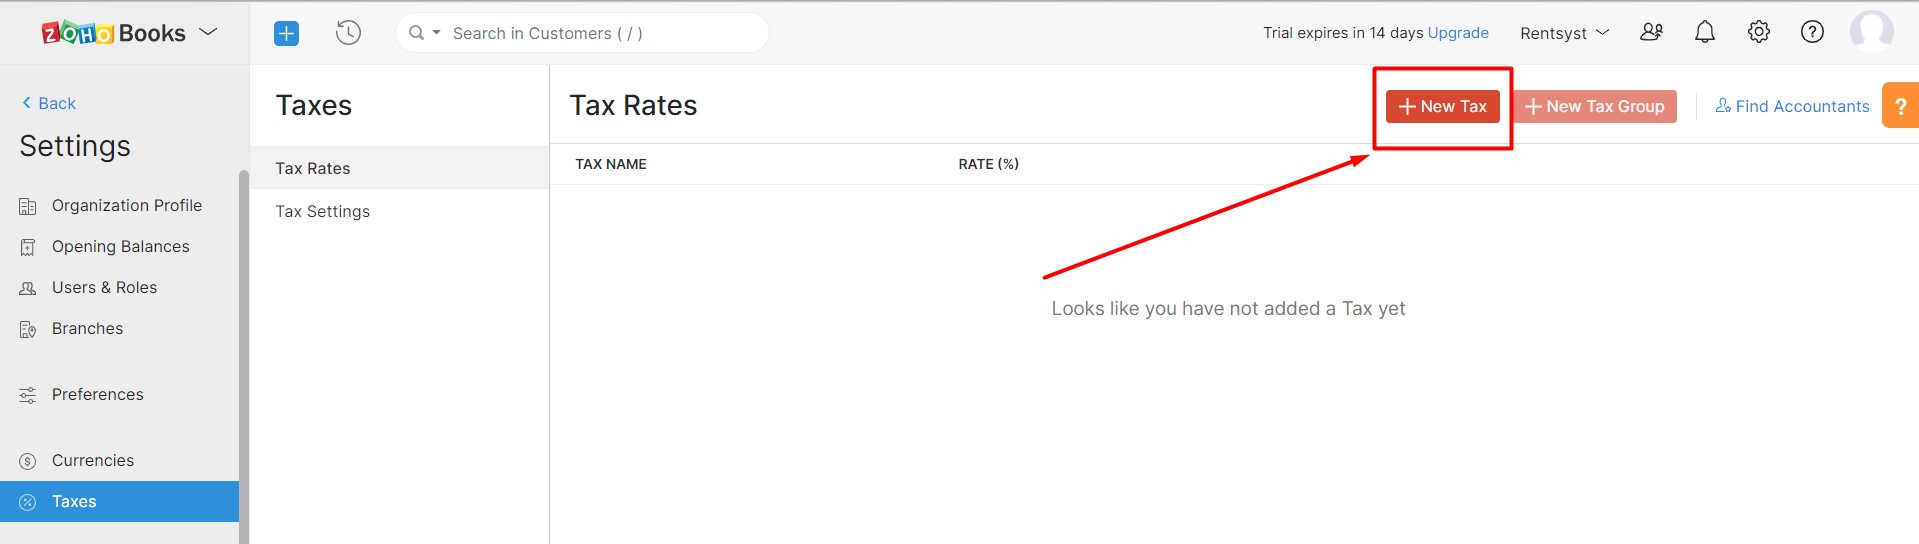
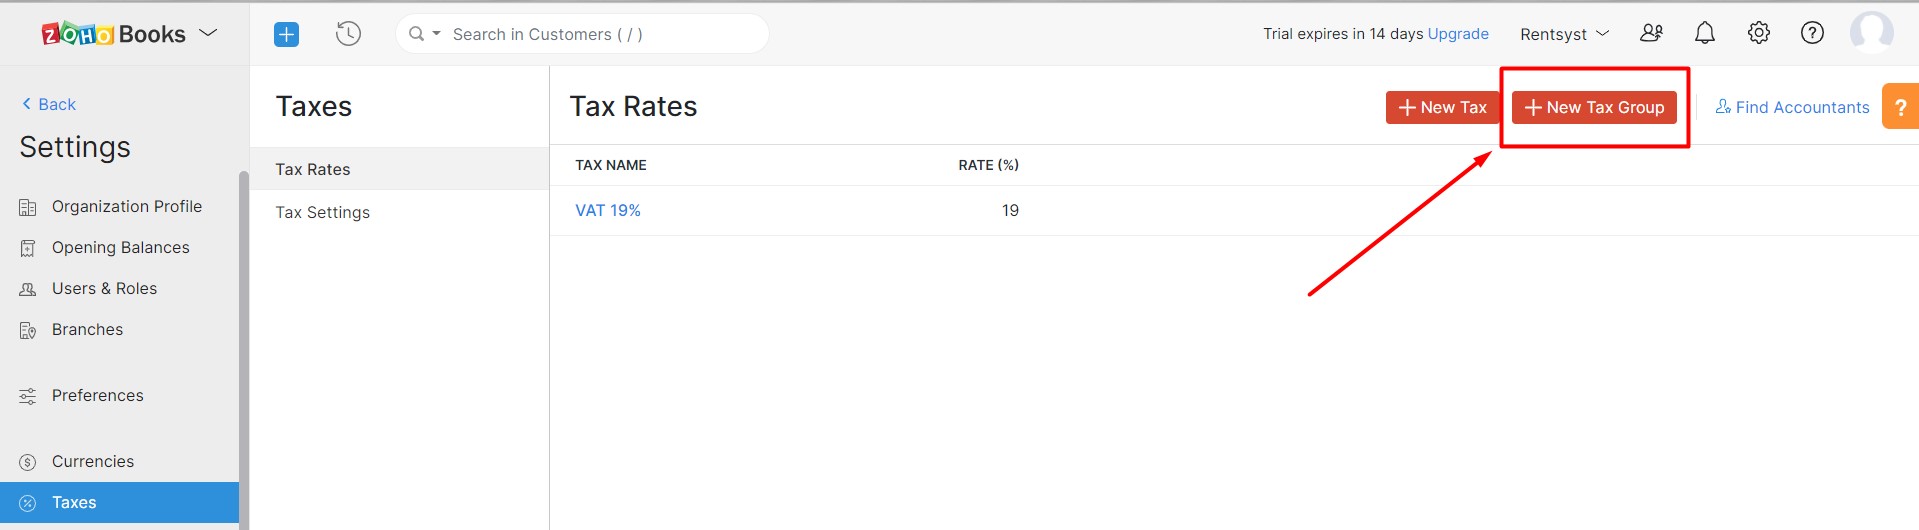
16. Press button New Tax.

17. Your name of TAX doesn't matter here, but rate of tax should be the same as you have in RentSyst. Here I have 19% tax rate in rentsyst, so I need to create same rate size in Zoho as well.
RentSyst:


Zoho:


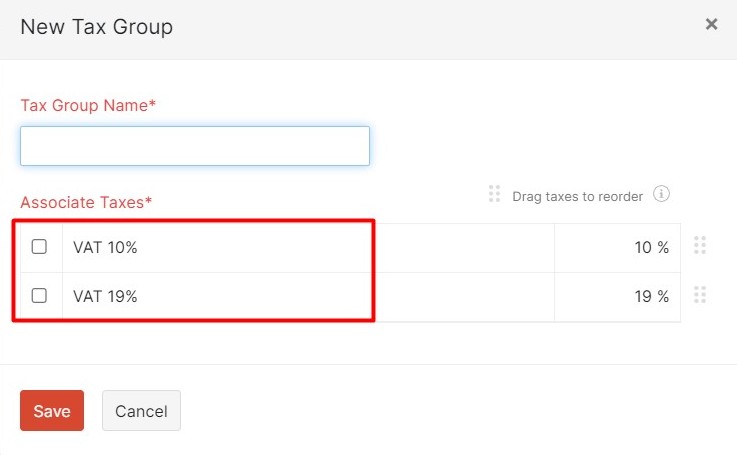
18. Each combination of taxes in Rentsyst has its own Group in Zoho. In case if you have different taxes for the same item, you will need to create a Group for these taxes. For instance:
In our sample we have 2 different tax rates for item Vehicle: 19% and 10%. So we need to group these 2 tax rates as one group, because this taxes apply for the same item Vehicle.

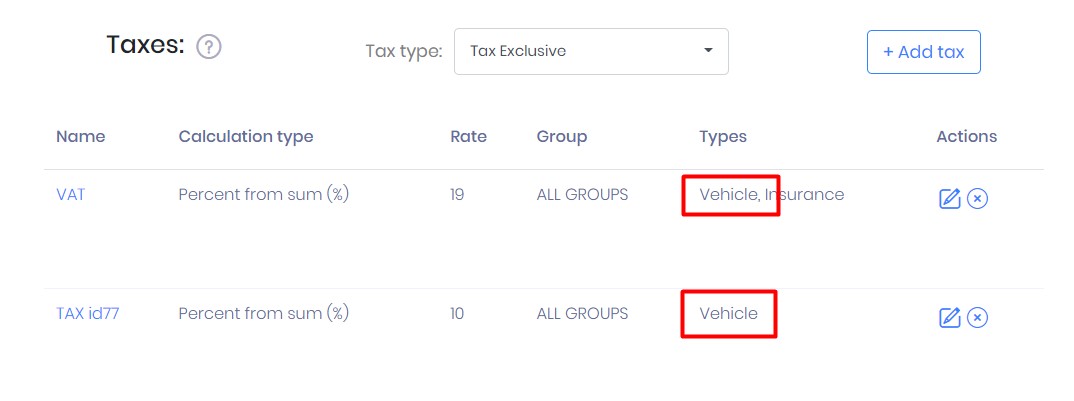
So I created 2 types of taxes inside Zoho first. And next combine these 2 types of taxes in 1 group for vehicle item.


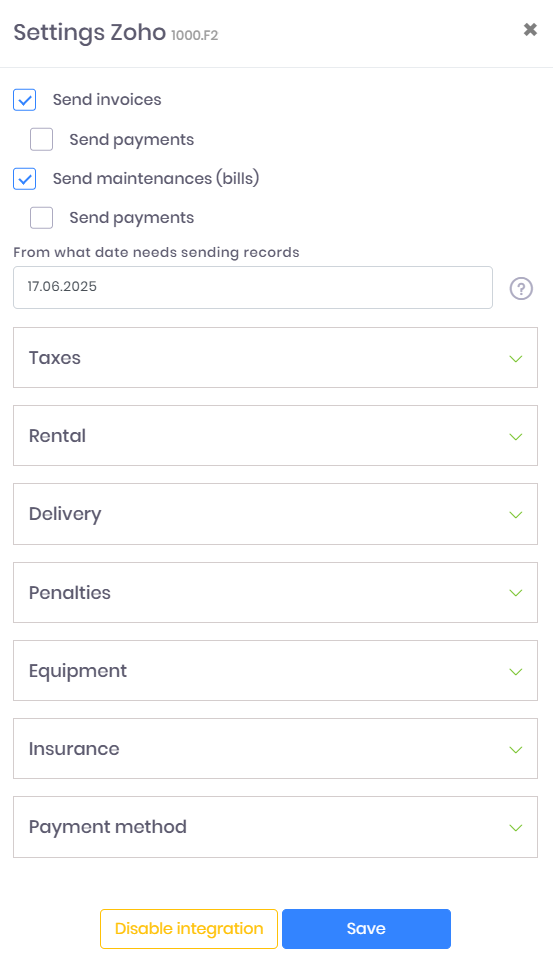
19. Inside the RentSyst Zoho integration tab you will see the full list of all your options and payment information that you wanna provide from RentSyst to Zoho. Choose an item from the list that you wanna use.
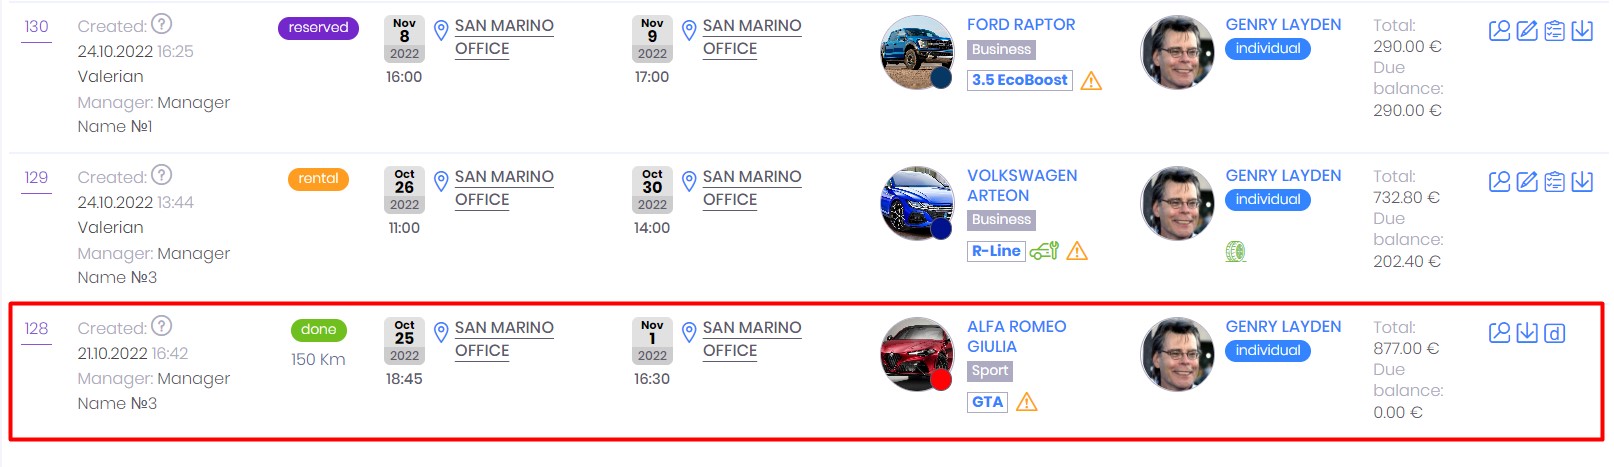
20. Invoices will automatically goes from RentSyst to Zoho only when your order changes status to the DONE stage.

21. Pay attention to follows – Zoho Books receiving payments with Payment type only (marked green on screenshot below). Payments with Deposit type (marked red on screenshot below) are not sending, cause usually this amount should be refunded after rental was over.


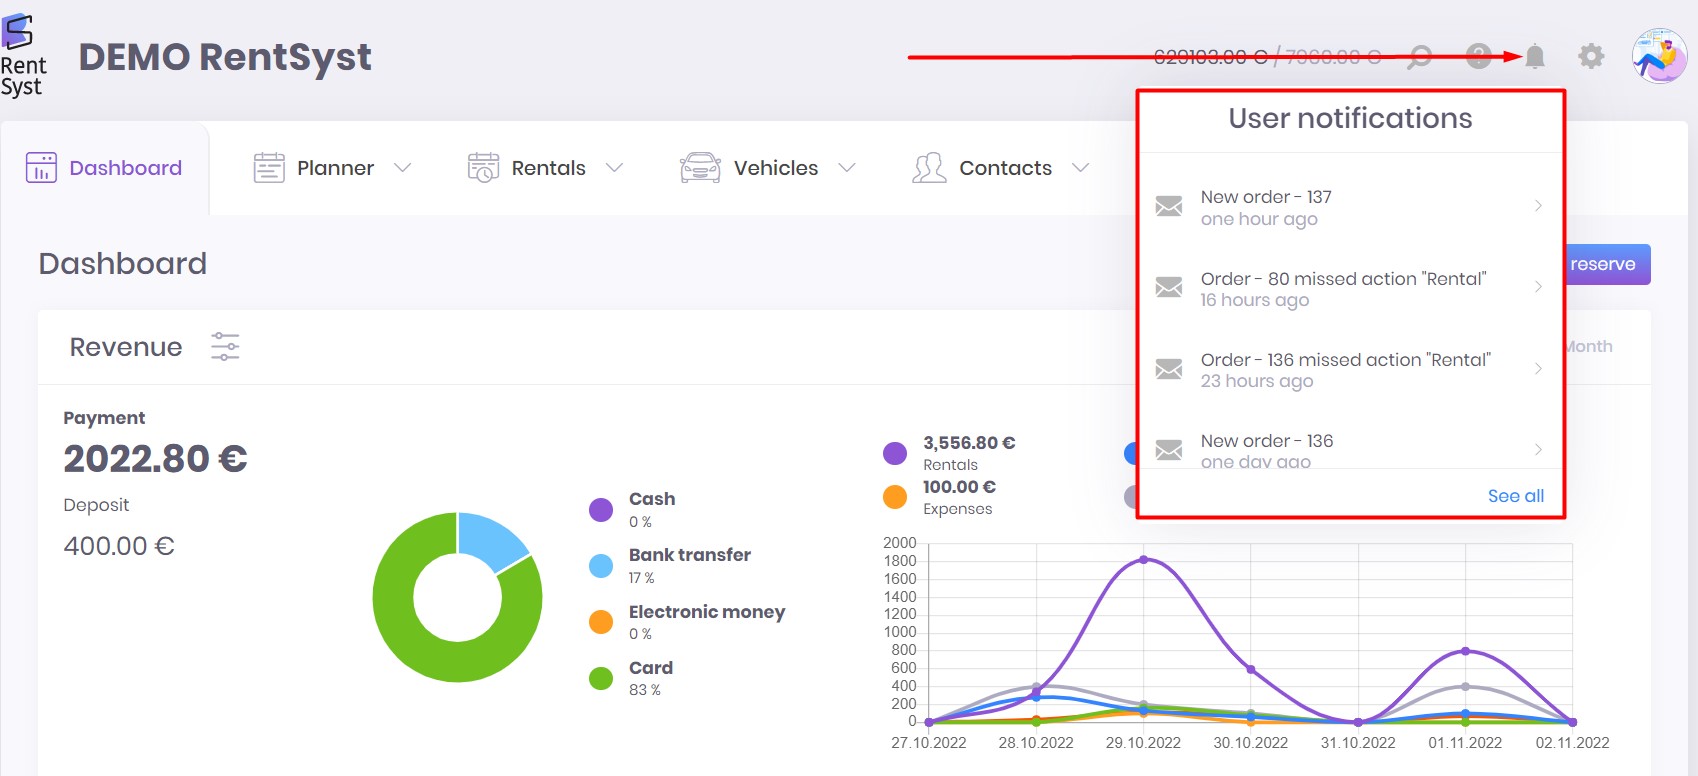
22. In case Invoice was not sended to the Zoho – you will see an Error information on the Notification Tab at your RentSyst account.

23. Congratulations! You have successfully finished integration with Zoho Books Accounting. If you have any questions about integration with Zoho, please write to our Support Department ([email protected]).