7.3 Integration Guide – QuickBooks Accounting
To successfully integrate the RentSyst service with the QuickBooks accounting system, you need to take the following steps:
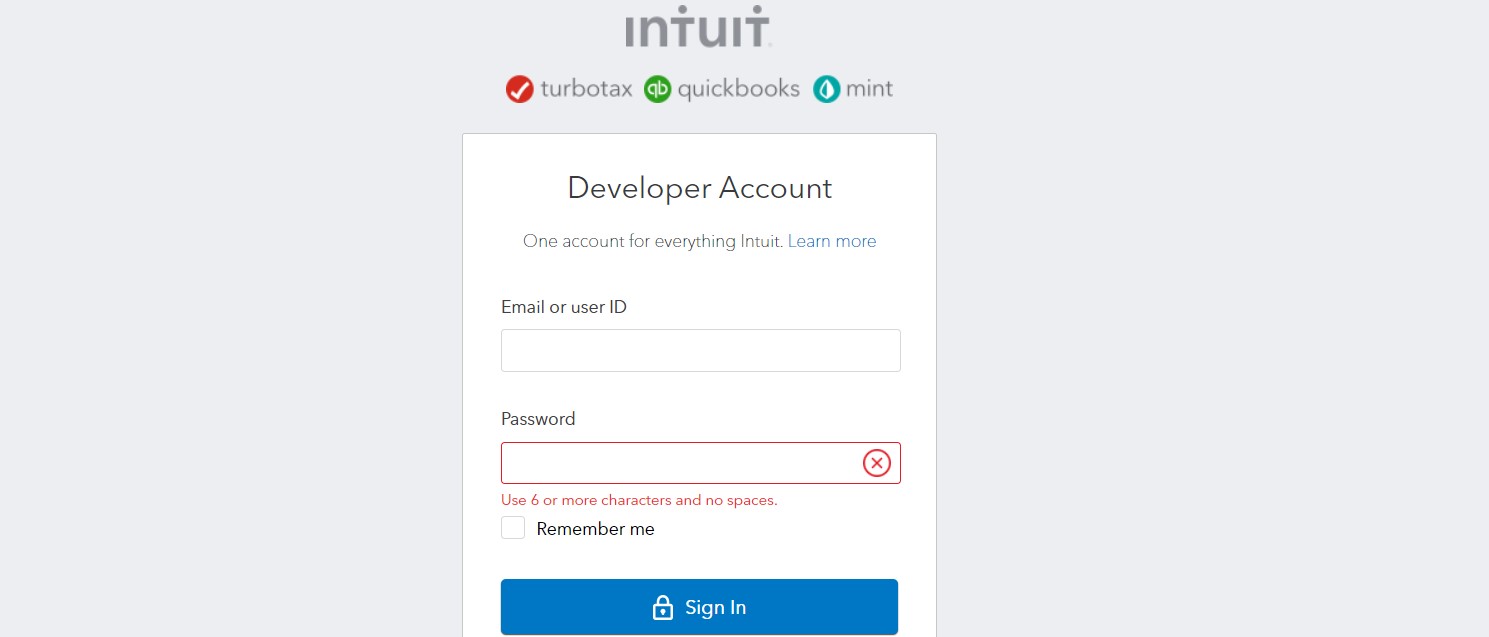
1. Go to the Intuit Developer website and sign in with your Quickbooks account by clicking "Sign In" in the top right corner.

(If you don’t have a Quickbooks account, you are always able to register there)
2. Enter your email or ID in the first field and password in the second, then click the blue "Sign In" button.
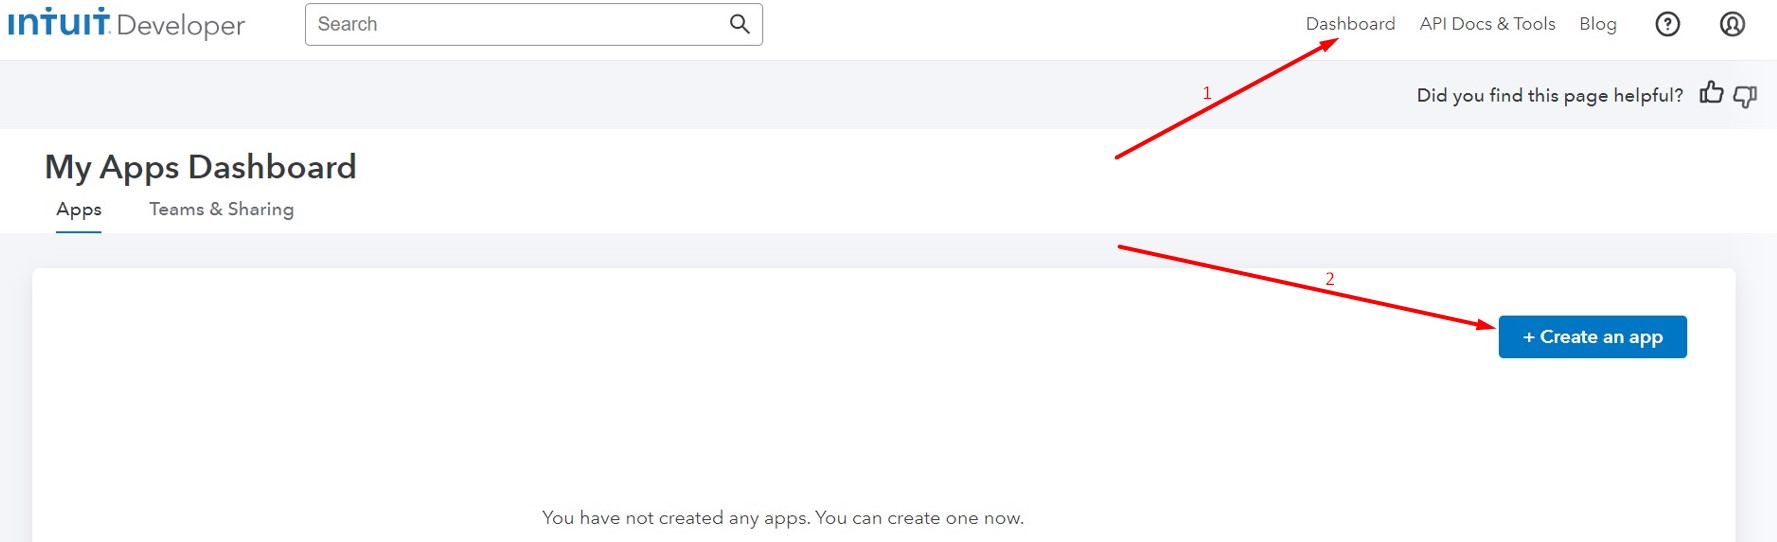
3. You are in the system. The “Dashboard” section will appear in the upper right corner. Open it. After that, you will be taken to the "My Apps Dashboard" field with all your applications. To create a new app, click on the blue "+Create an app" button.
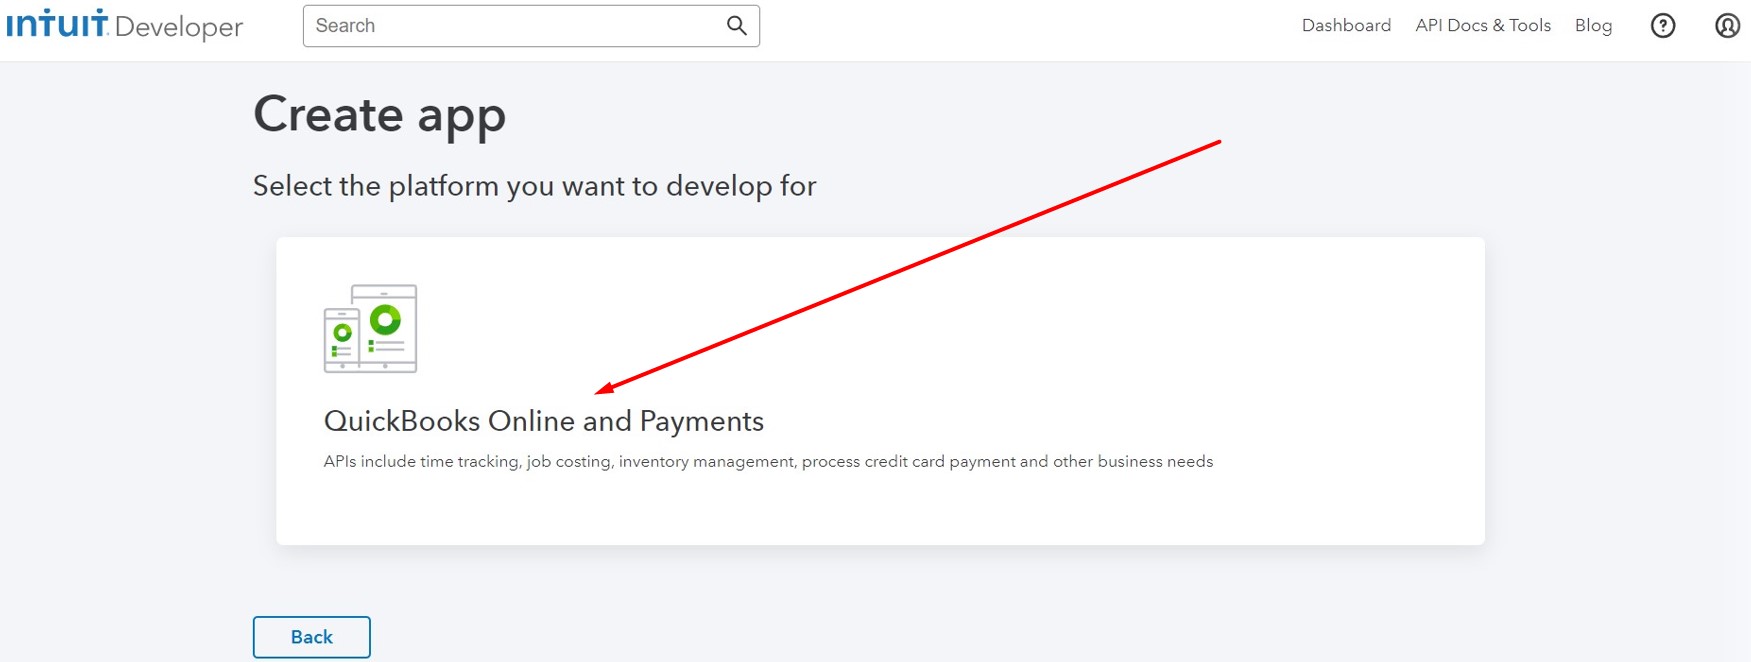
4. Select the "QuickBooks Online and Payments" section.
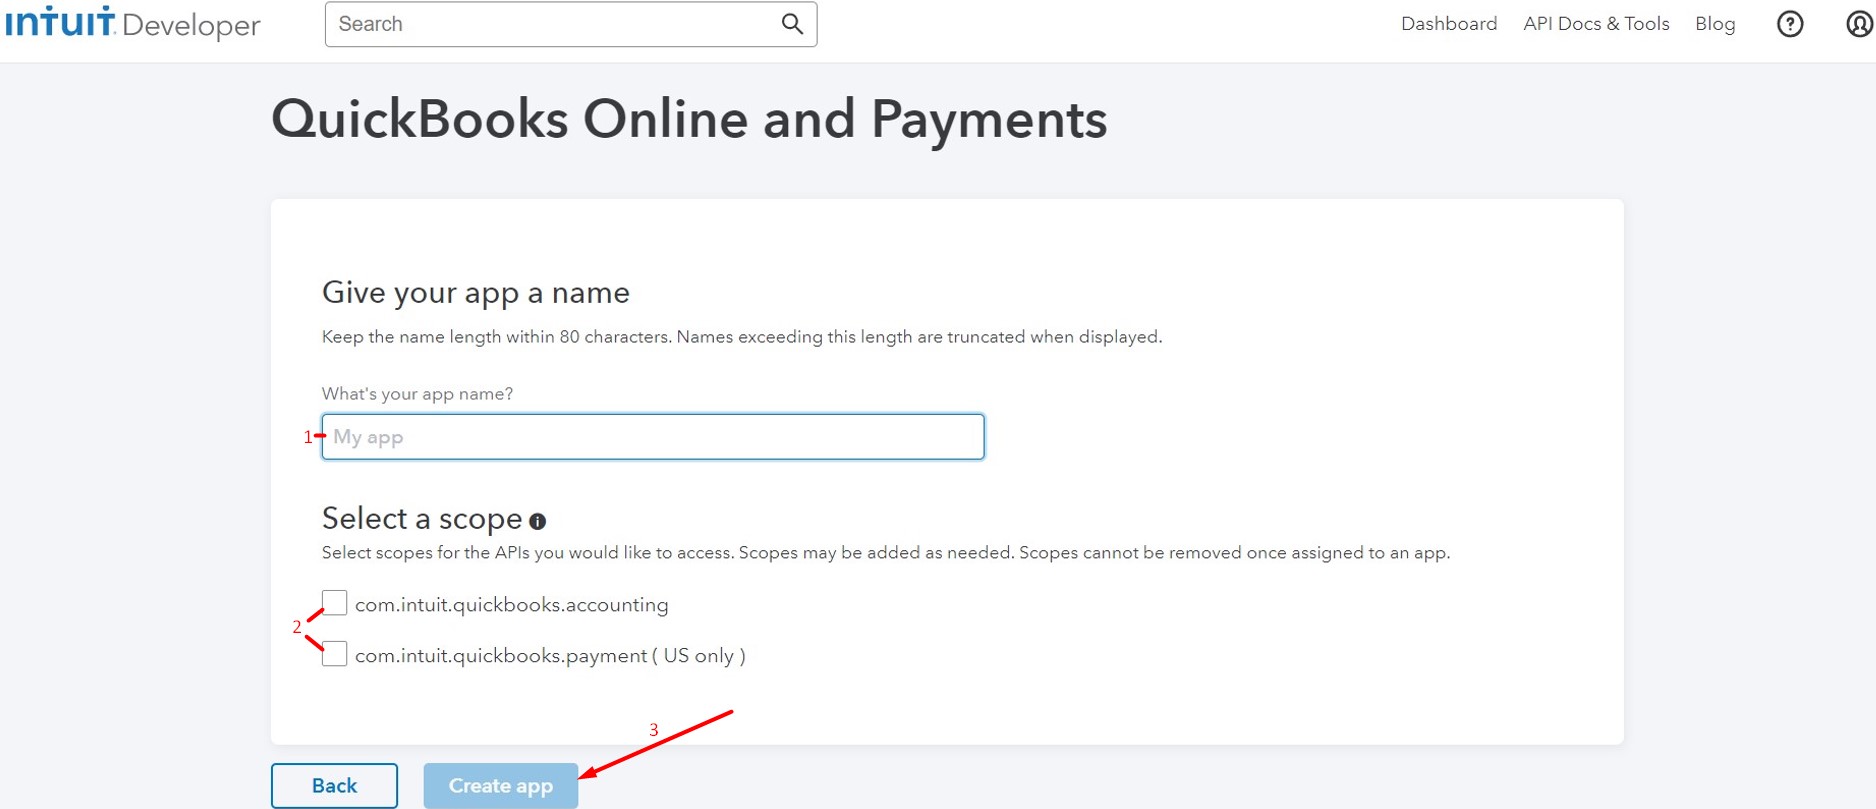
5. Name your application. For example, enter your name in Latin. Then, below, select the scope for the API you want to access. Please note that only the top field "com.intuit.quickbooks.accounting" is for Europe, while both fields are suitable for the US. After that, the "Create app" button will become available. Click on it.
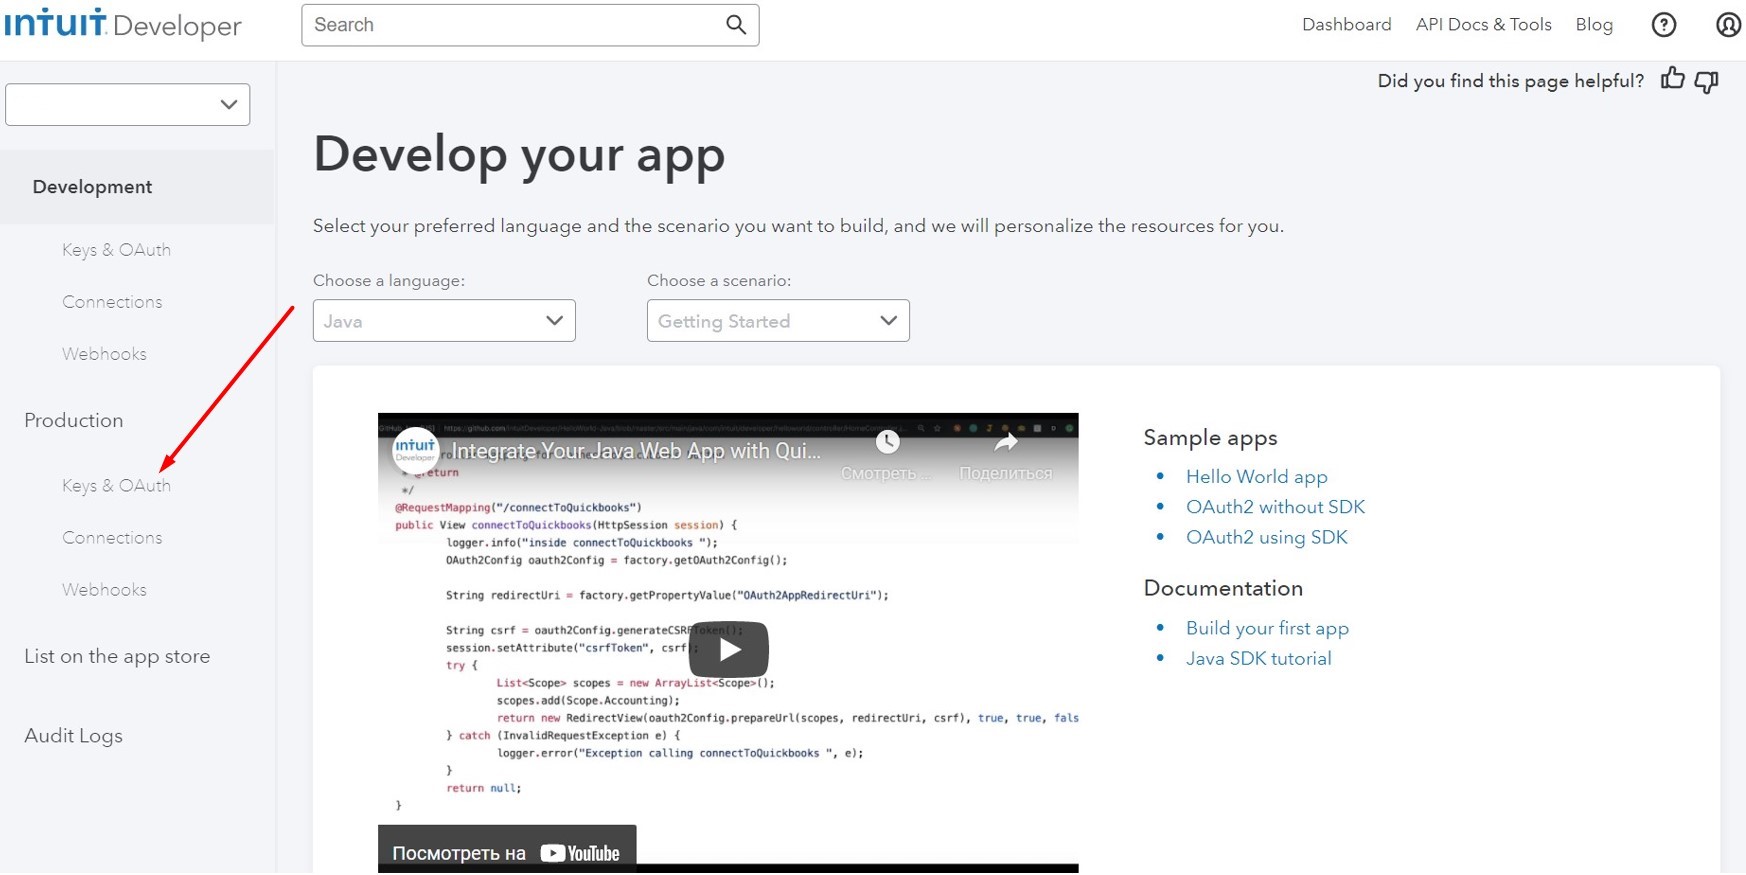
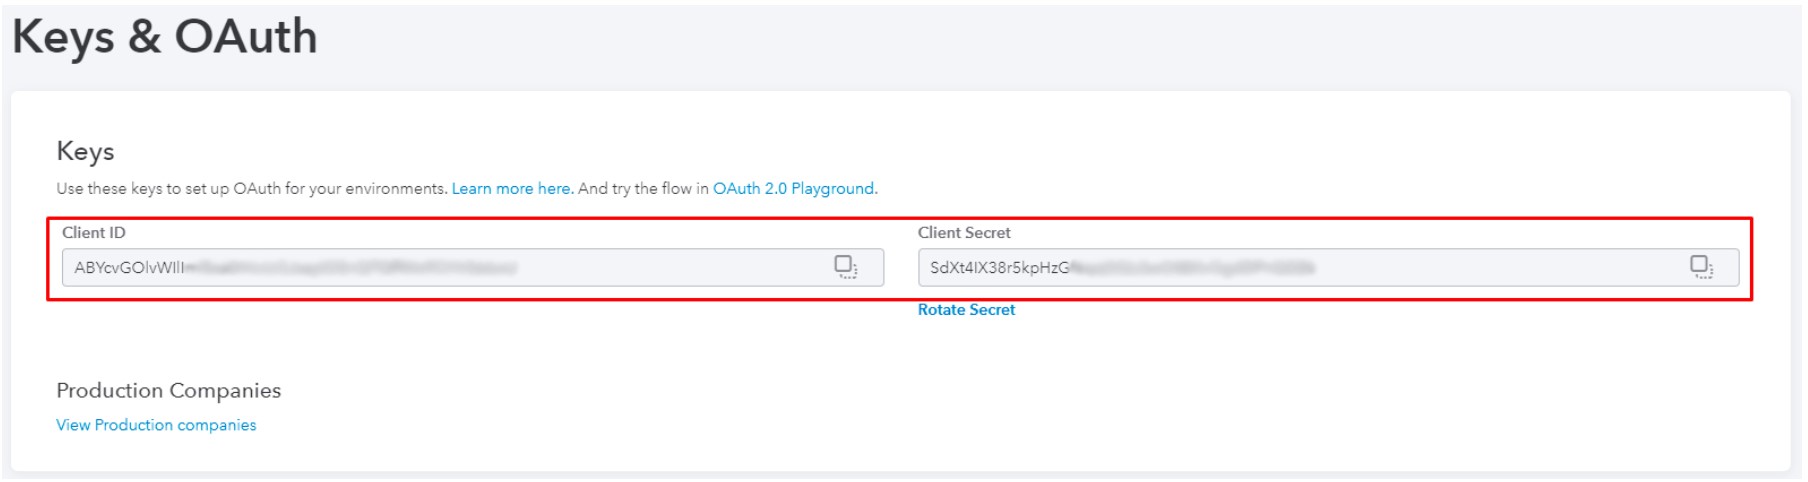
6. Open "Keys and OAuth" under "Production" on the left.
7. You need to pass verification to get Client Id and Client Secret. Click on each item from the list and follow the requirements.
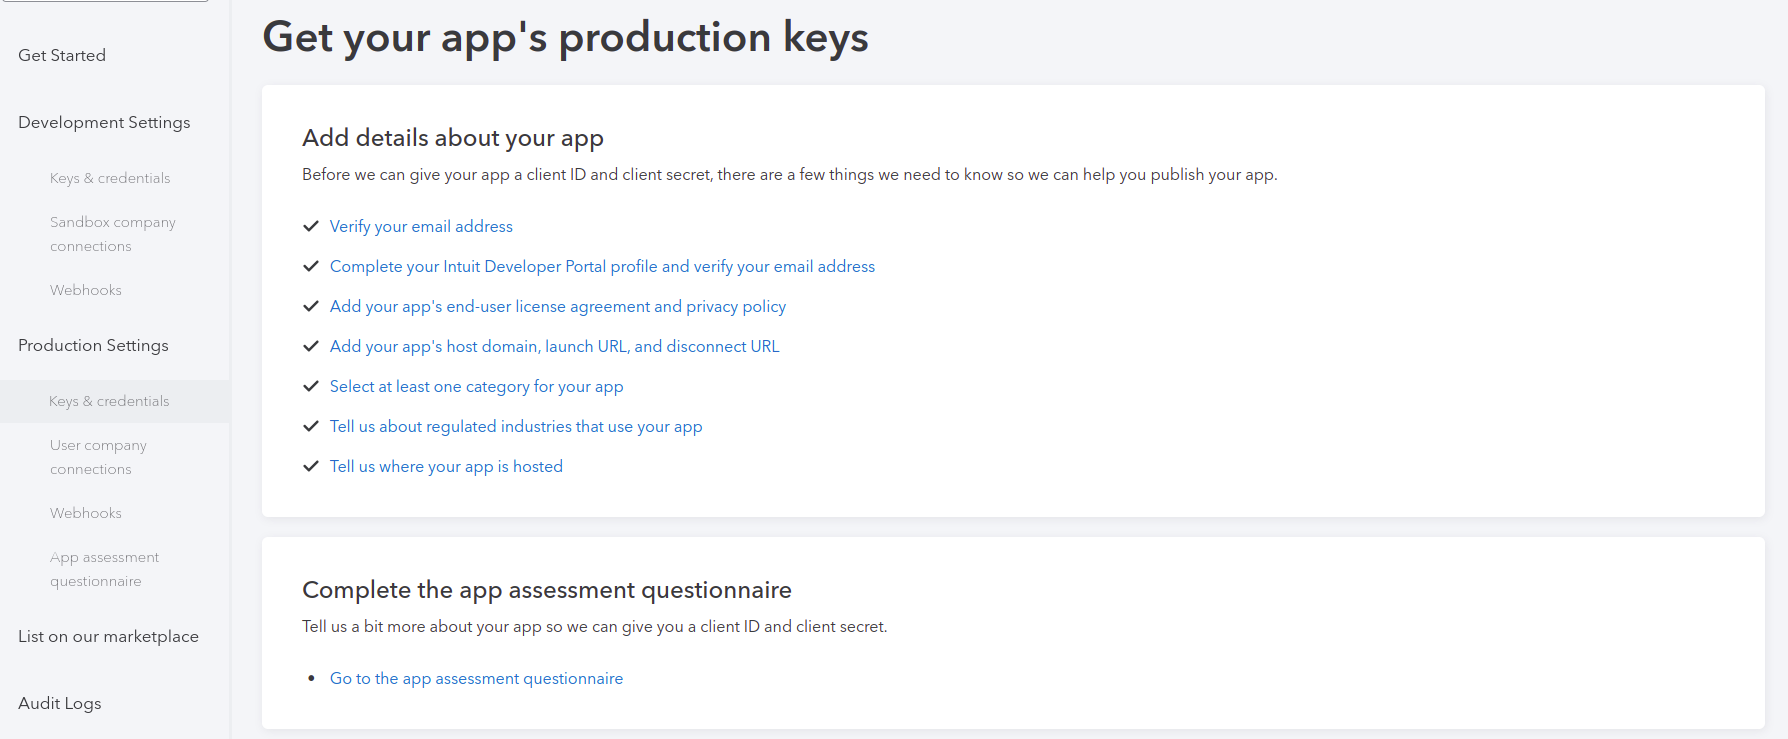
Confirm your email address (the code has already been sent to you).
Complete your account profile: address, phone, zip code…
Provide license agreement and privacy policy URLs. These are links to "Terms of Use" and "Privacy Policy" from your website.
Define the target industries of the application in the production settings - what exactly do you need the application for. This section is filled in automatically as the data is read from previously completed forms.
8. Specify the license agreement and privacy policy URLs on the Production Settings tab.The first thing they offer you here is to leave or change the name of the application as well as upload an image.
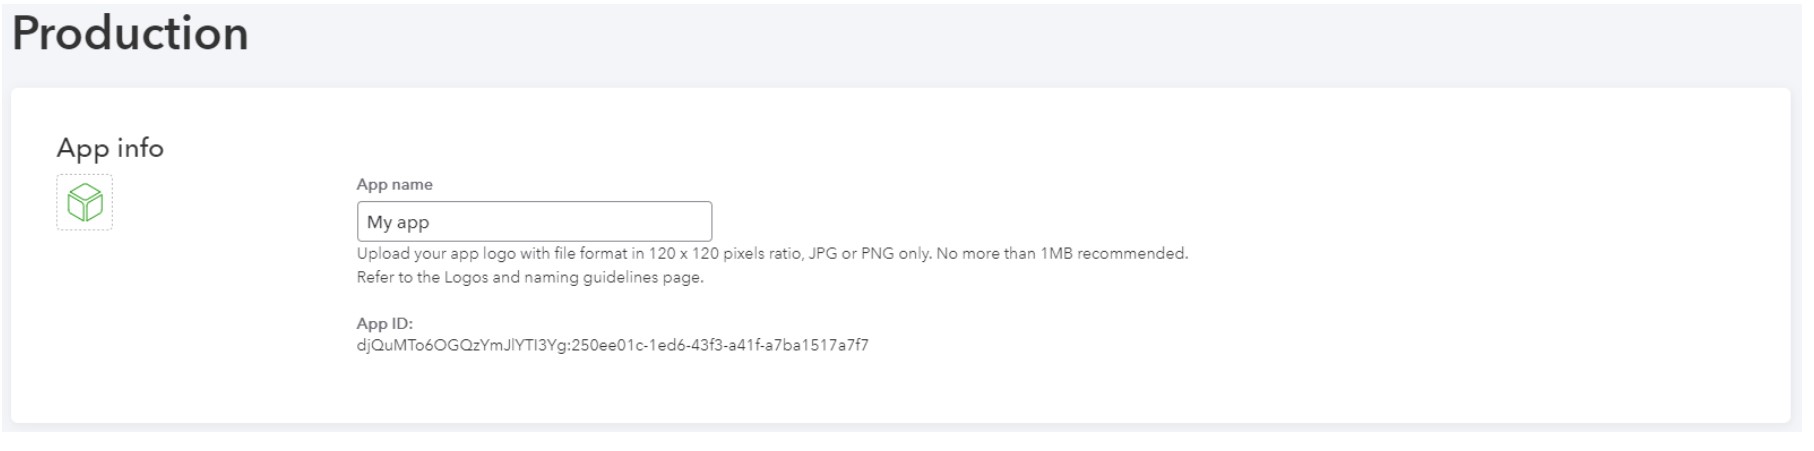
In the following fields, you must add links to the "User Agreement" and "Privacy Policy". Add links only from your site. This information should be on every site.

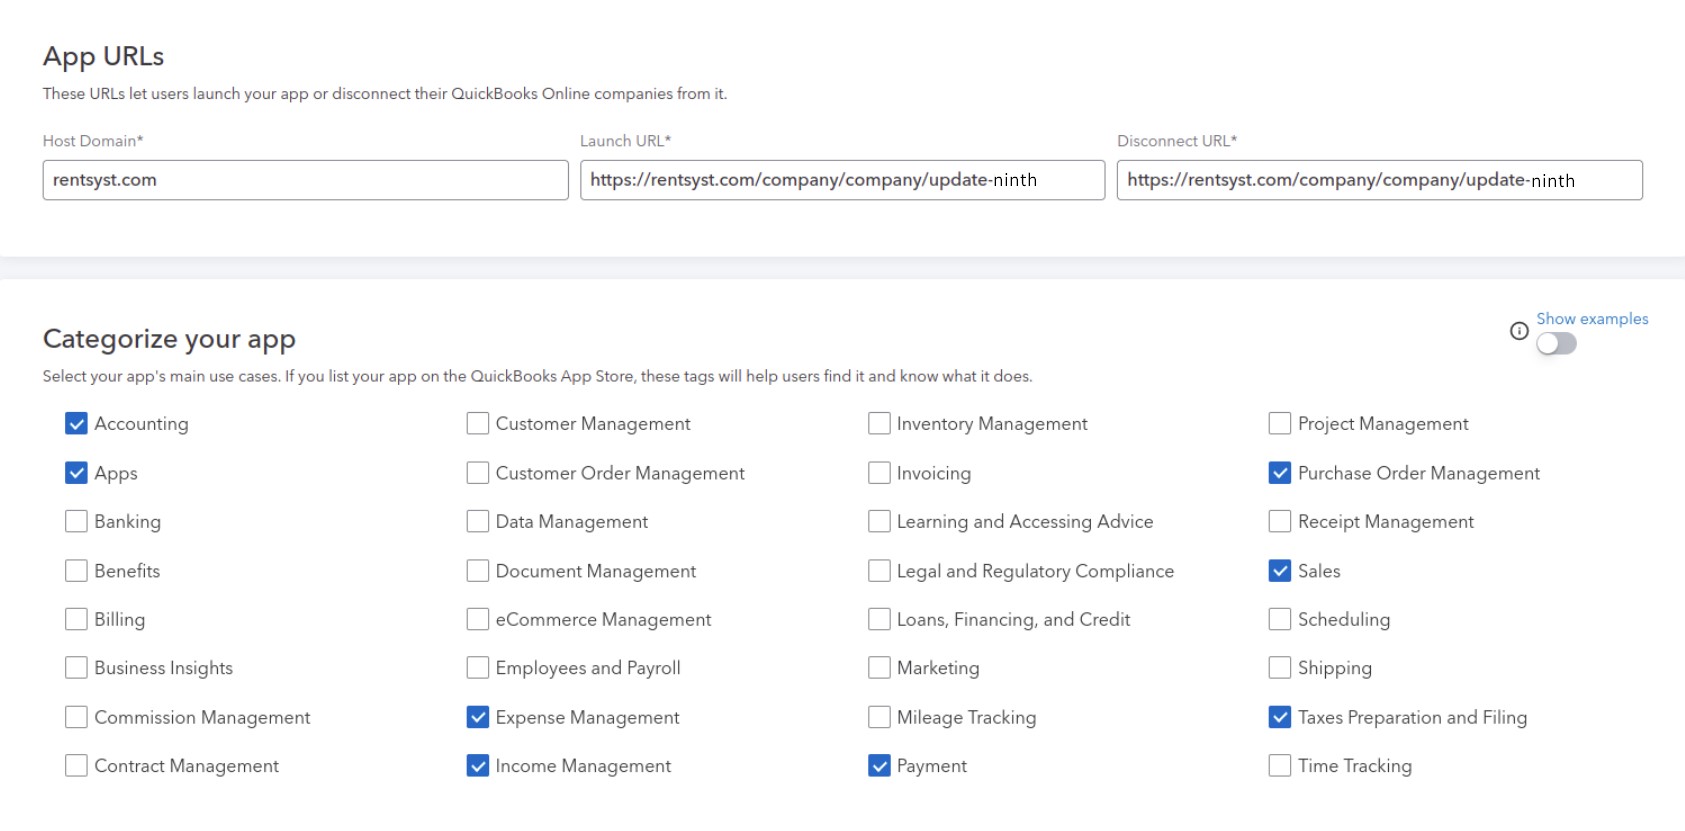
Add host domain: rentsyst.com, than fulfill launch and disconnect URLs with same value: https://rentsyst.com/company/company/update-ninth/
Select at least one category. Example is one screenshot below.
Define the target industries of the application in the production settings - what exactly do you need the application for. This section is filled in automatically as the data is read from previously completed forms.
In "Where is your app is hosted?" section please add Netherlands without IP addresses
Select the area in which you will use the application. Since we are in the car rental business and it is not on this list, select "None of the above".

Select the country "you will receive payments from". If operating within only one country, specify it. If you rent cars for everyone who arrives, select the "ALL" option.

The final checkpoint is "Scope for the API". Since you have already selected "Accounting", just make sure it is the only one checked. Click the "Save" button.

To finish the verification process you need to pass through Quickbooks questionnaire

9. Go back to "Keys and OAuth" in the "Production" section. You have a Client Id and Client Secret, but the settings are not complete yet. We will use these keys a little later, but for now we leave this window.
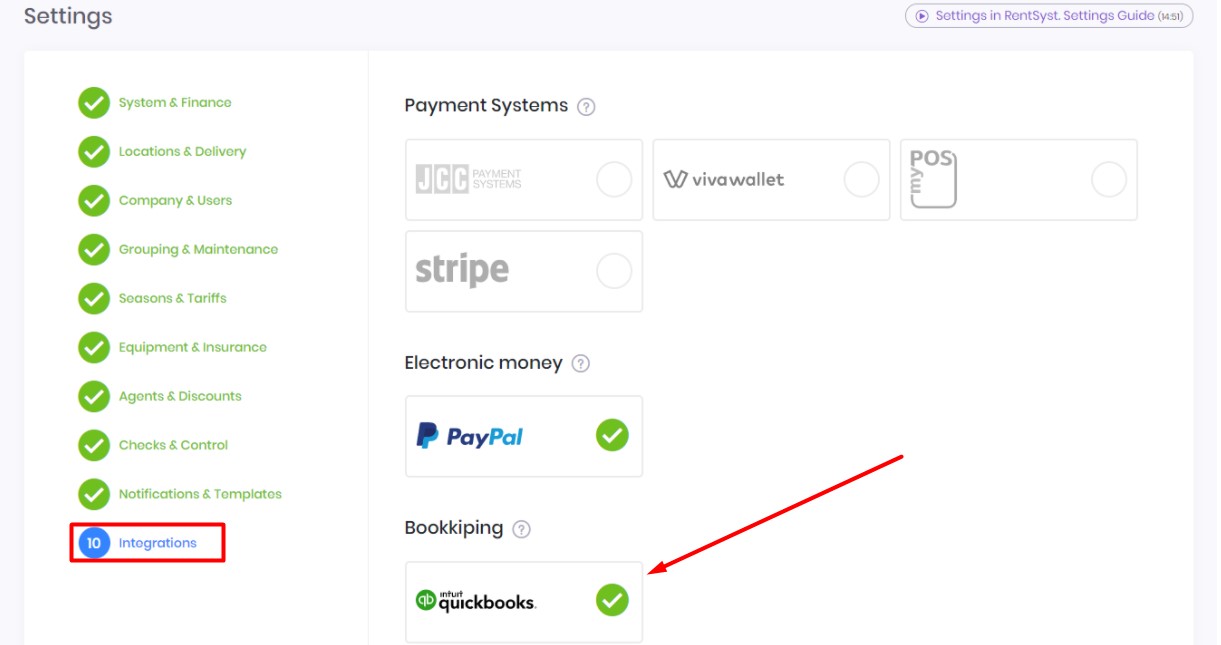
10. In another tab, go to the RentSyst website and open the settings by clicking on the corresponding icon.
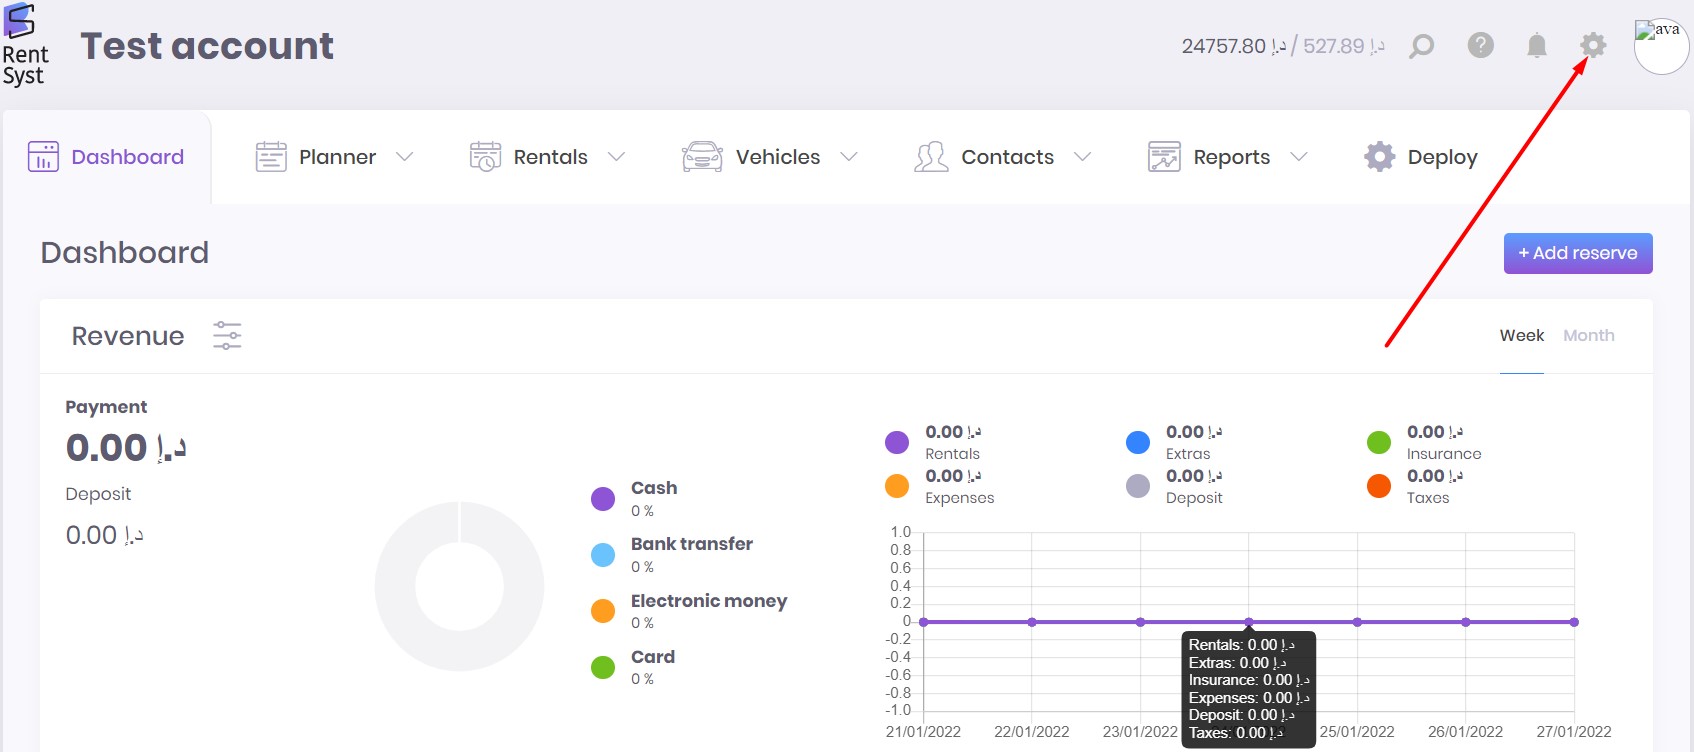
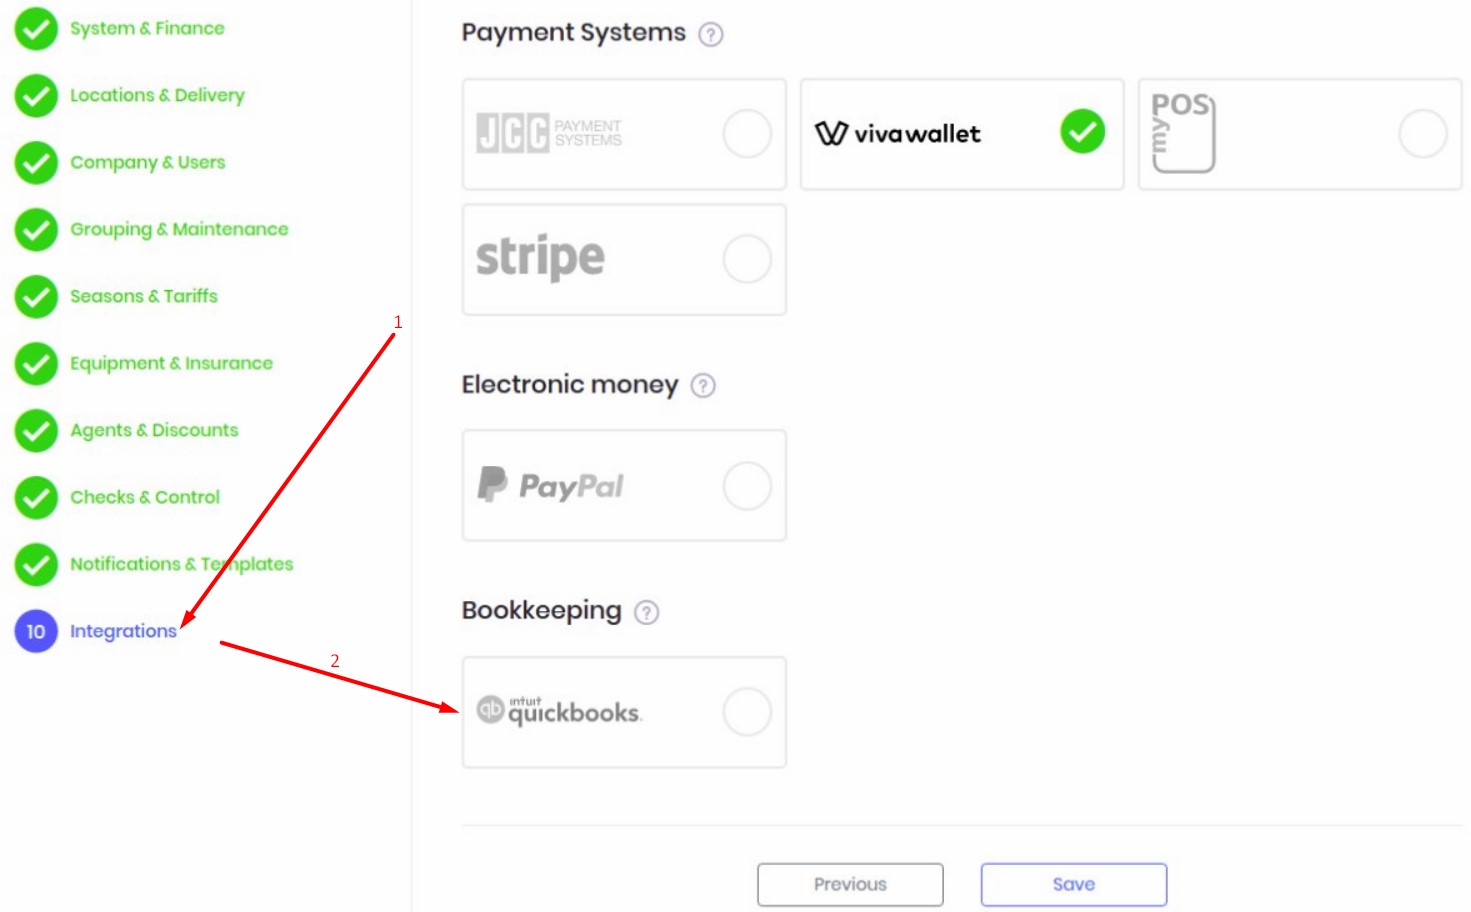
We need the last item on the list – "Integrations". When you get to it, click on the QuickBooks icon at the bottom of the page.
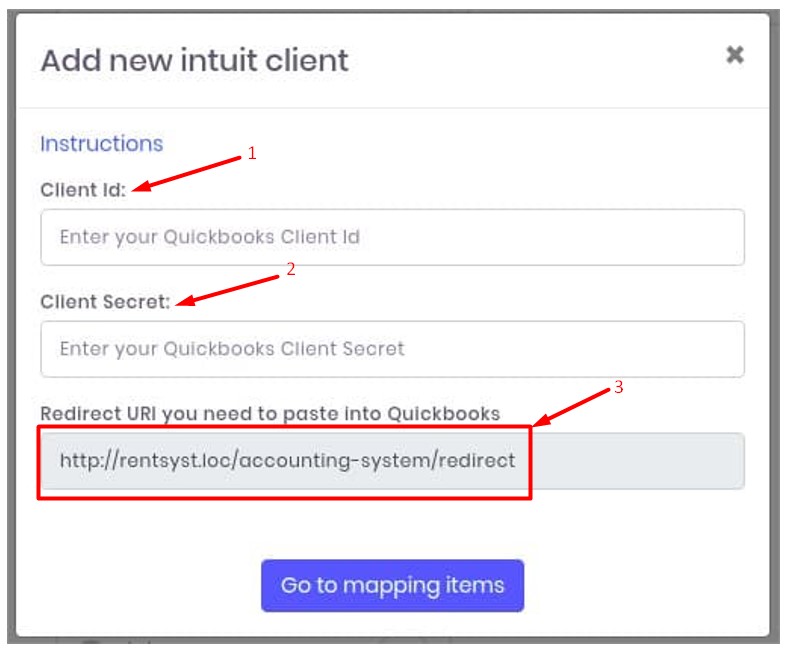
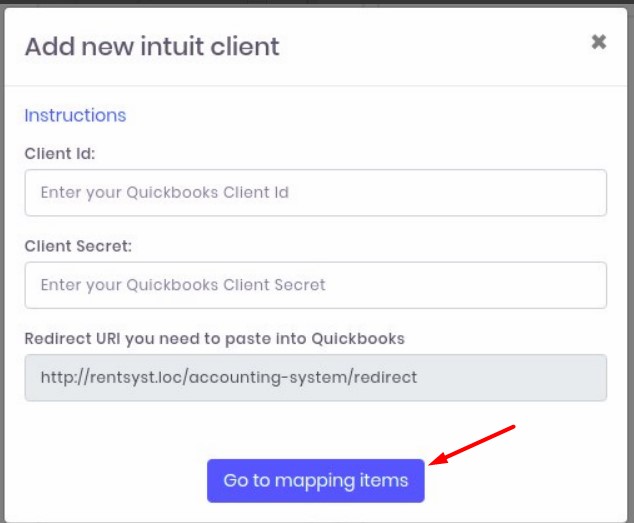
11. A window will open where you need to enter the previously received Client Id and Client Secret. To do this, go back to the tab with the Intuit Developer site where "Keys and OAuth" is open in the "Production" section (item 9).
1-2. Copy the Client Id and Client Secret from there and paste the data into the appropriate fields on the RentSyst website.
3. Copy the link below "Redirect URI you need to paste into QuickBooks"
12. Back to the tab with keys on the Intuit Developer site.
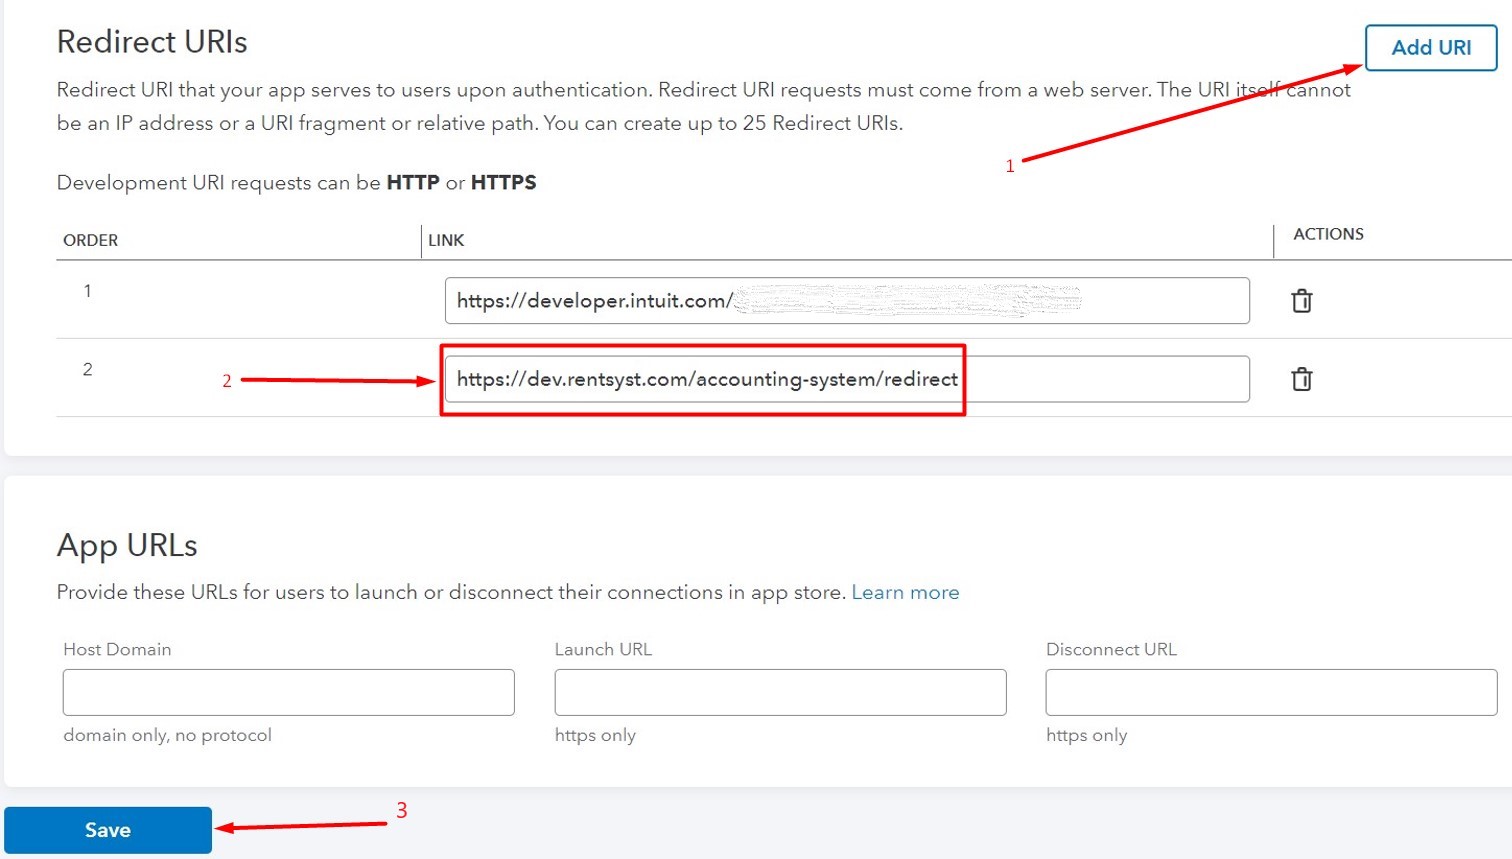
1. Under the "Keys" section, you will see "Redirect URIs". Click on the "ADD URI" button.
2. Below, under the first link, a field for the second one will appear. You need to paste the copied link from the previous paragraph there.
3. Click "Save".
13. Return to the RentSyst website and click "Go to mapping items".
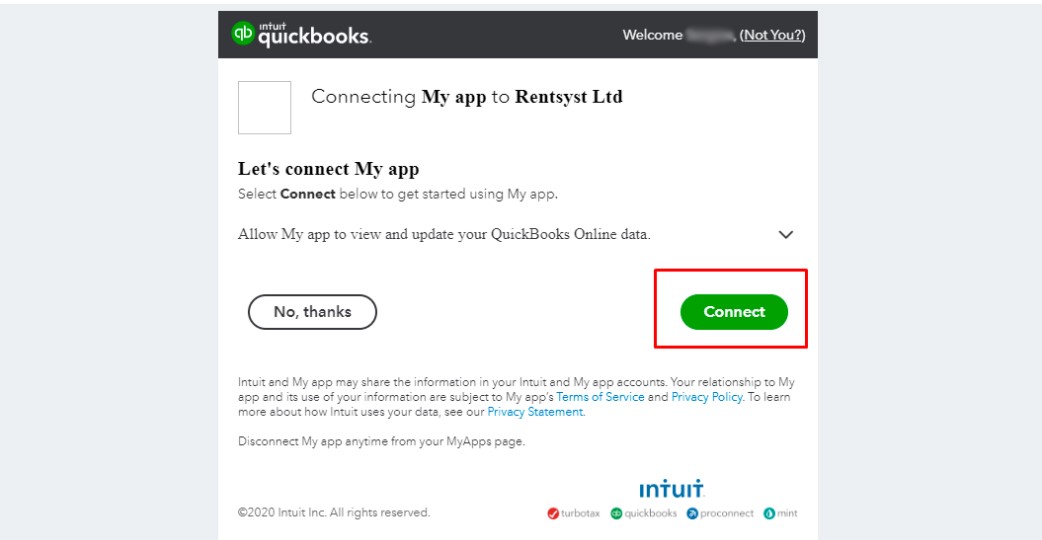
14. The QuickBooks window will open. Click "Connect".
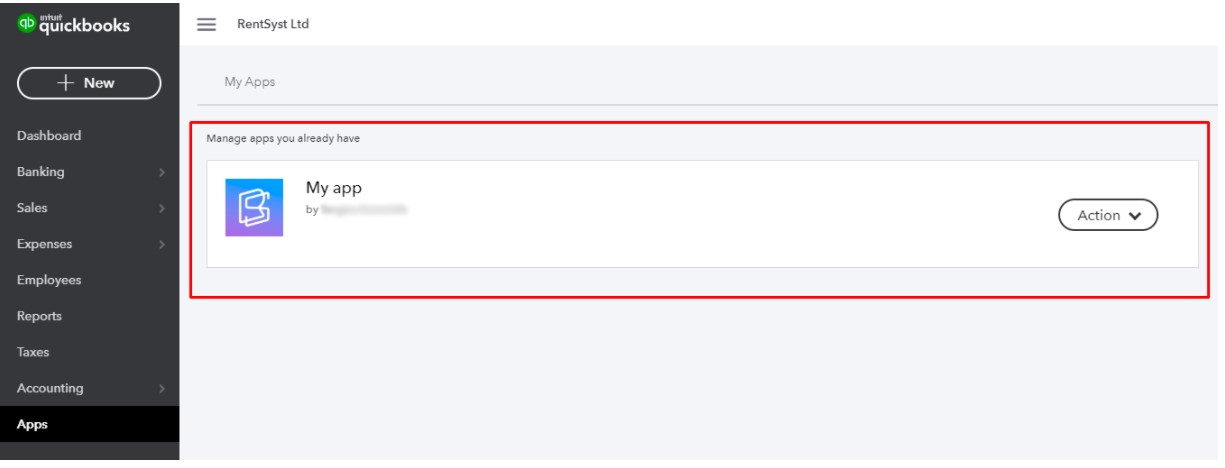
15. Go to your Quickbooks Online profile that you connected to Intuit Developer. Then click on the "Apps" tab to see if your newly created app appears in your Quickbooks Online profile.
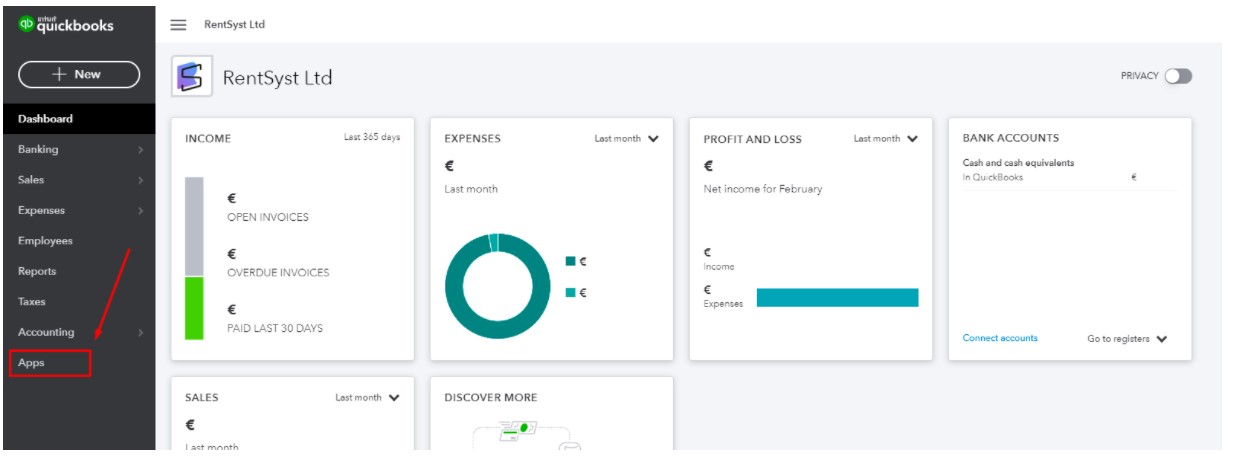
If everything is done according to the instructions, the application will appear in your profile
16. Return to your RentSyst personal account -> "Settings" -> "Integration" and click on the Quickbooks icon.
You will see a window with fields that you need to fill in.
17. Fill in the "Update intuit client" fields.
Checkboxes "Send Invoices" and "Send Bills" respond for enabling or disabling corresponding functions. If both are turned off RentSyst won't send anyting to your Quickbooks
In the line under "From what date needs sending bills/invoices", enter the date from which you want to start invoice and bills synchronization with your Quickbooks. This is optional.
On the left, you can see all the elements of the system that your company creates in RentSyst. They are individual for each user.
On the right, you can see the products and services you create with Quickbooks that you offer to your customers.
For each RentSyst item (on the left), you can only select one product or service in Quickbooks (on the right).
You can see an example of filling in the remaining fields in the screenshot.
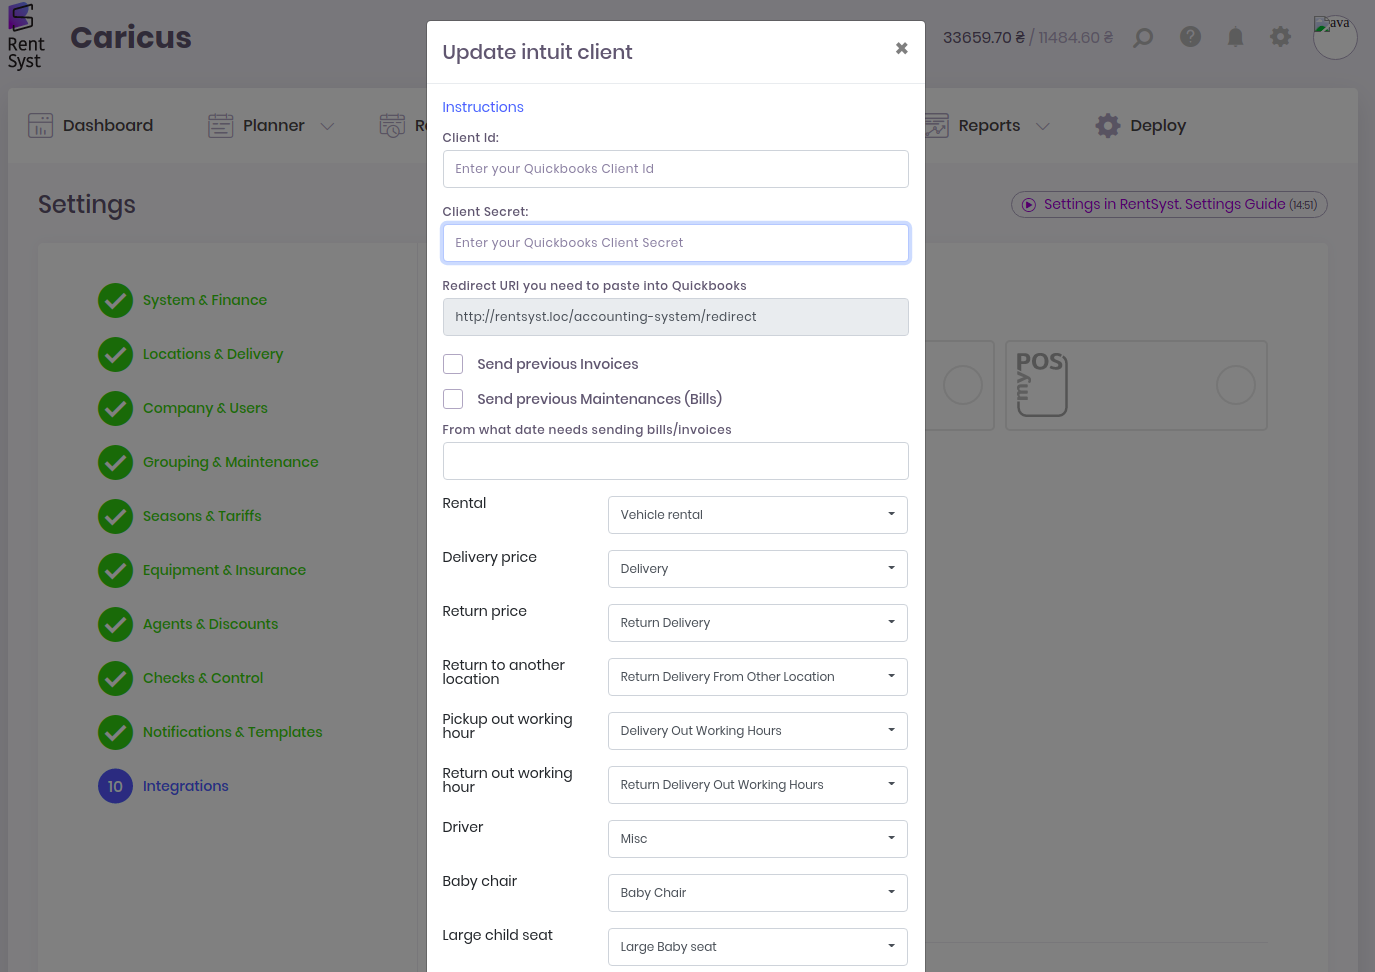
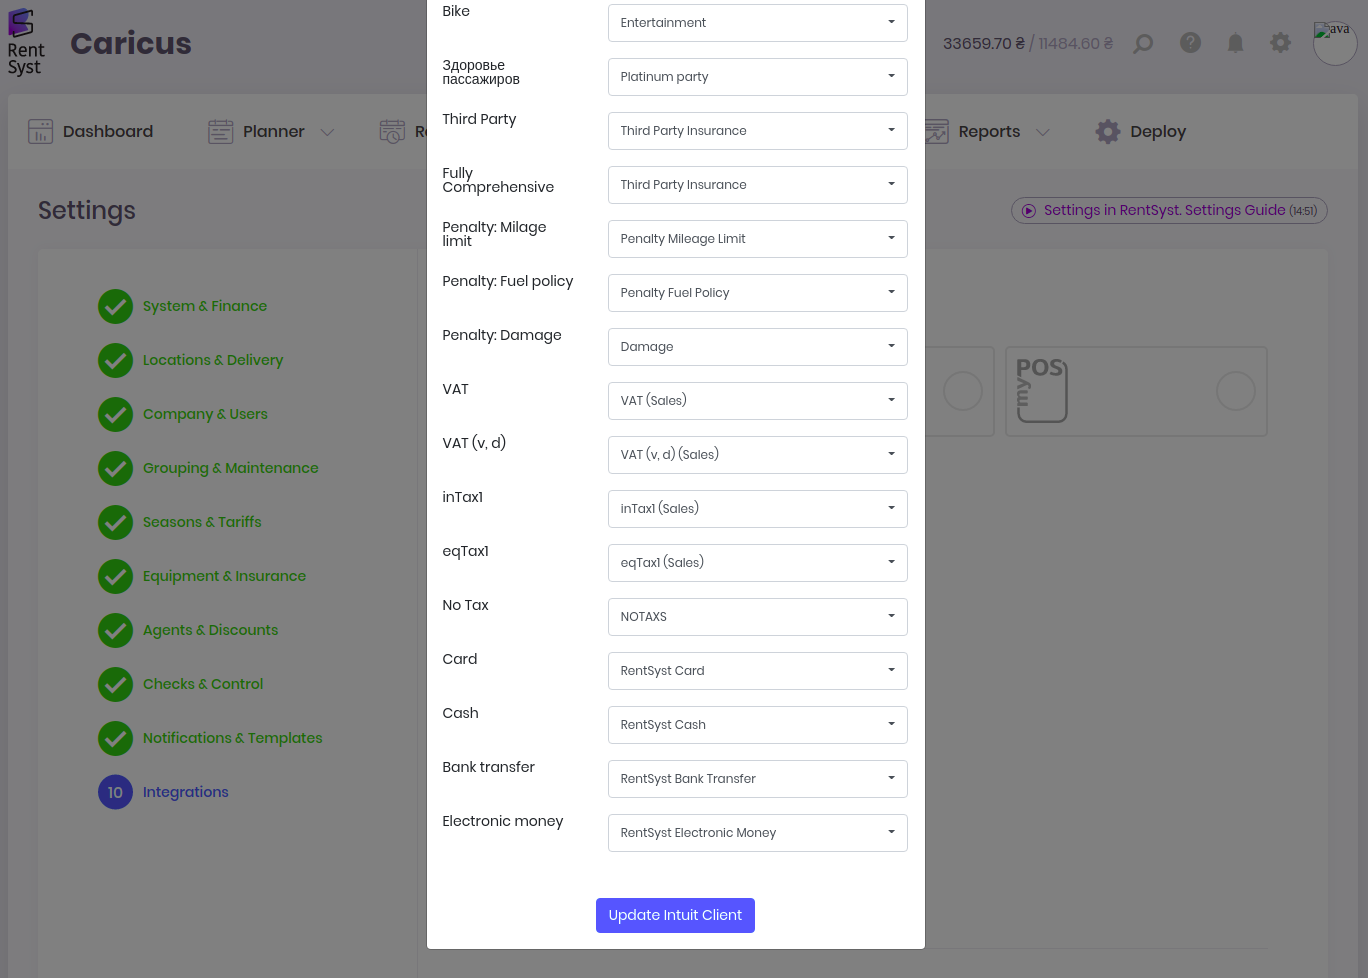
Once you are done, click on the blue "Update Intuit Client" button at the bottom.
Notes:
* Match taxes to TaxRate, not TaxCode. For "No Tax", use "NOTAXS for sales or NOTAXP for purchases" (if such taxes are listed).
** You must create a separate tax group in Quickbooks for each combination of taxes. For a combination of one tax, you do not need to create a group.
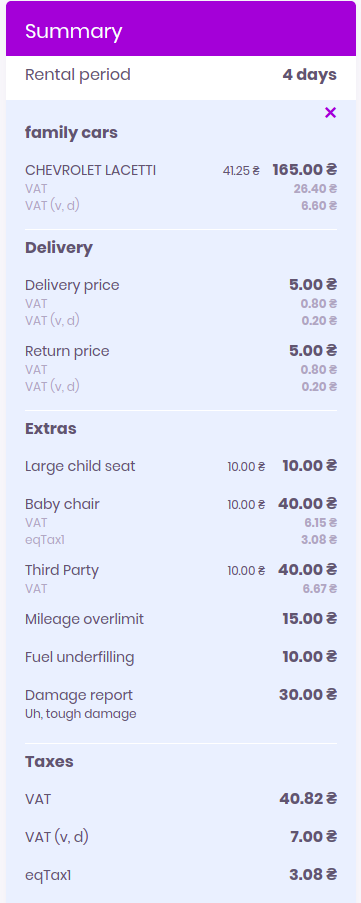
Example for two combinations of taxes "VAT + VAT (v,d)" and "VAT + eqTax1". For these two combinations, respectively, 2 tax groups should be created in Quickbooks, which should contain TaxRates corresponding to the given taxes from RentSyst.
How to create a tax group in Quickbooks
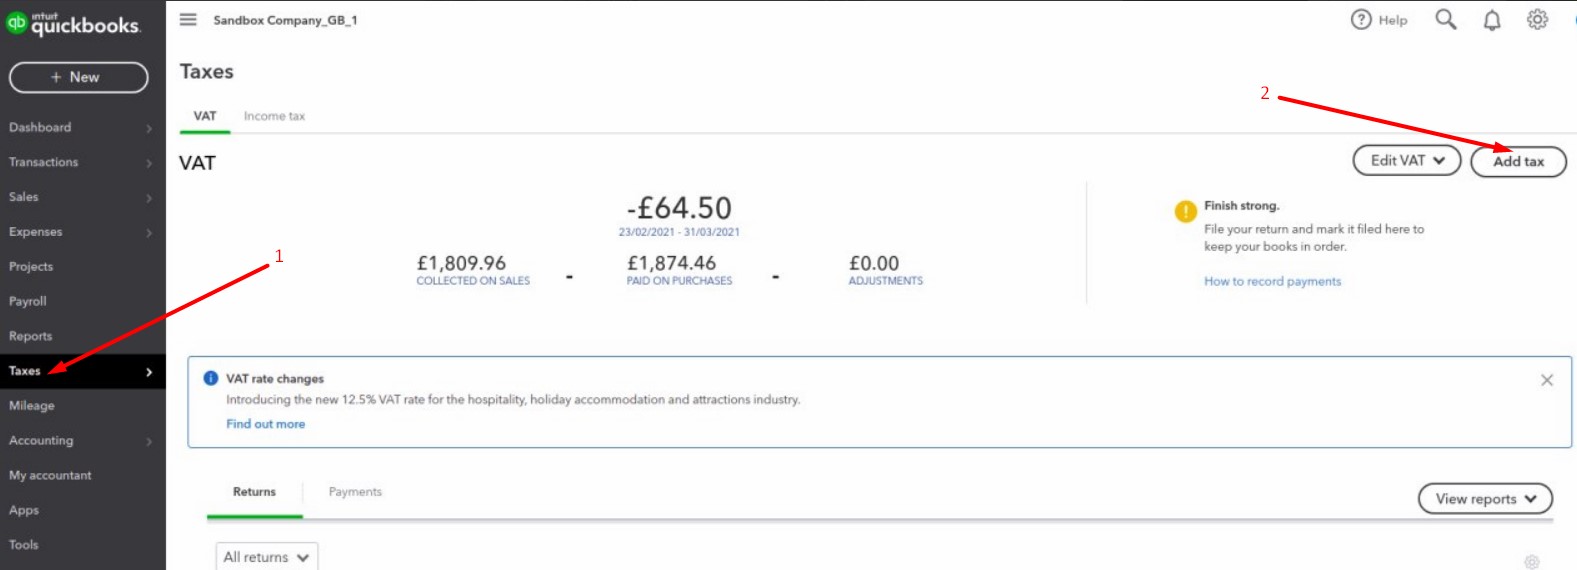
1. Open the Taxes section of your Quickbooks account. Then click on the "Add tax" button.
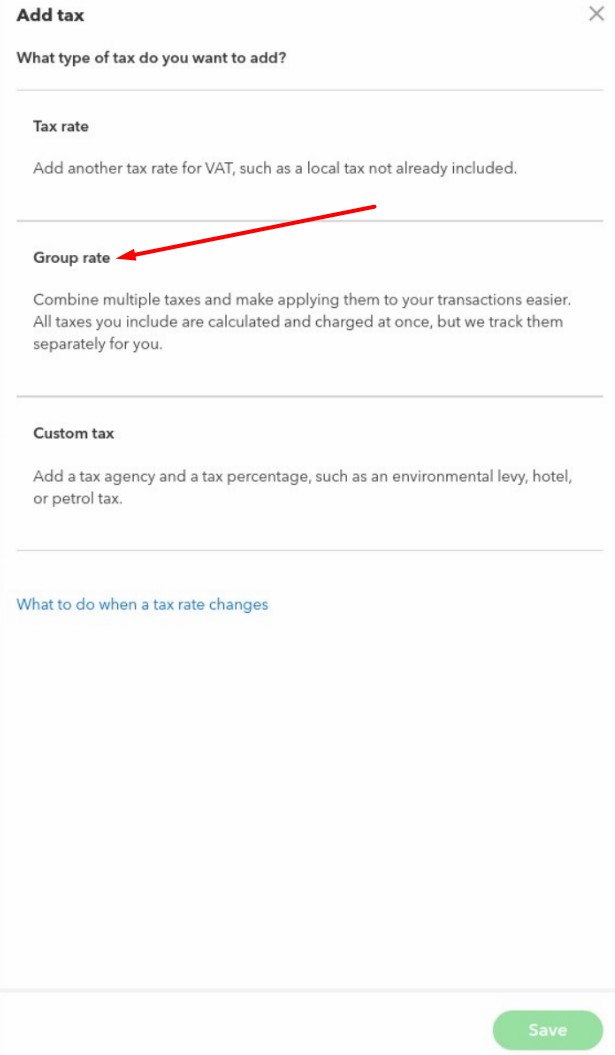
2. Select "Group Rate" from the list.
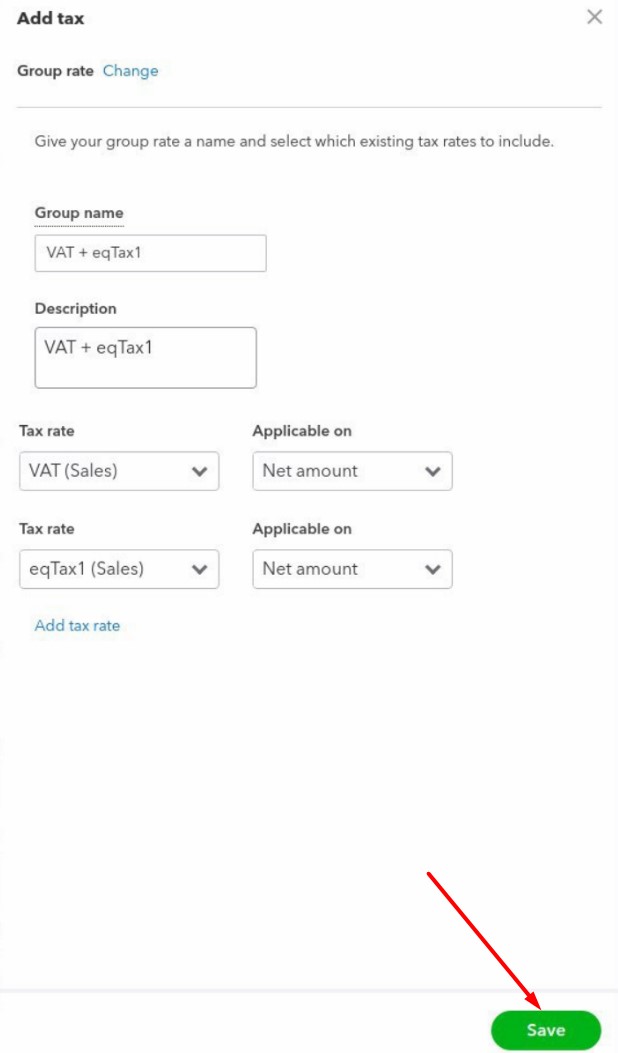
3. A window will appear with the fields that you need to fill in and click on the "Save" button. You can see an example of filling in the screenshot.
* Note: If you cannot create an invoice in Quickbooks, check the information about the error by clicking on the bell.
All set. Quickbooks has been successfully integrated into RentSyst! Now you can get to work.
Your Invoice will be sent to the Quickbooks system after the status of the order is changed to "Done". Bills will be sent to Quickbooks after Maintenance is set to "Done".
Thank you for choosing our service!