2.2 Vehicle card
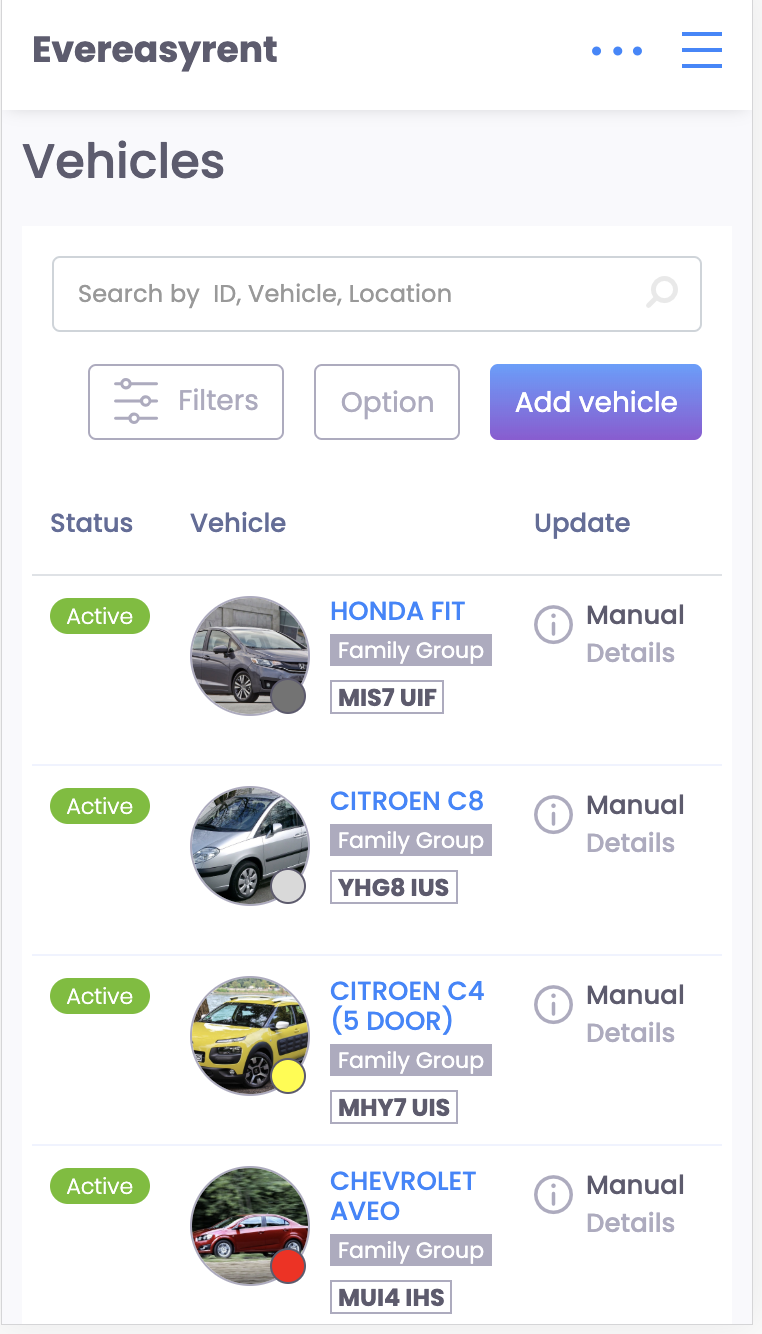
You get to the detailed information in the vehicle card from the list of vehicles by clicking on the name or the magnifying glass icon in the vehicle of interest to you.

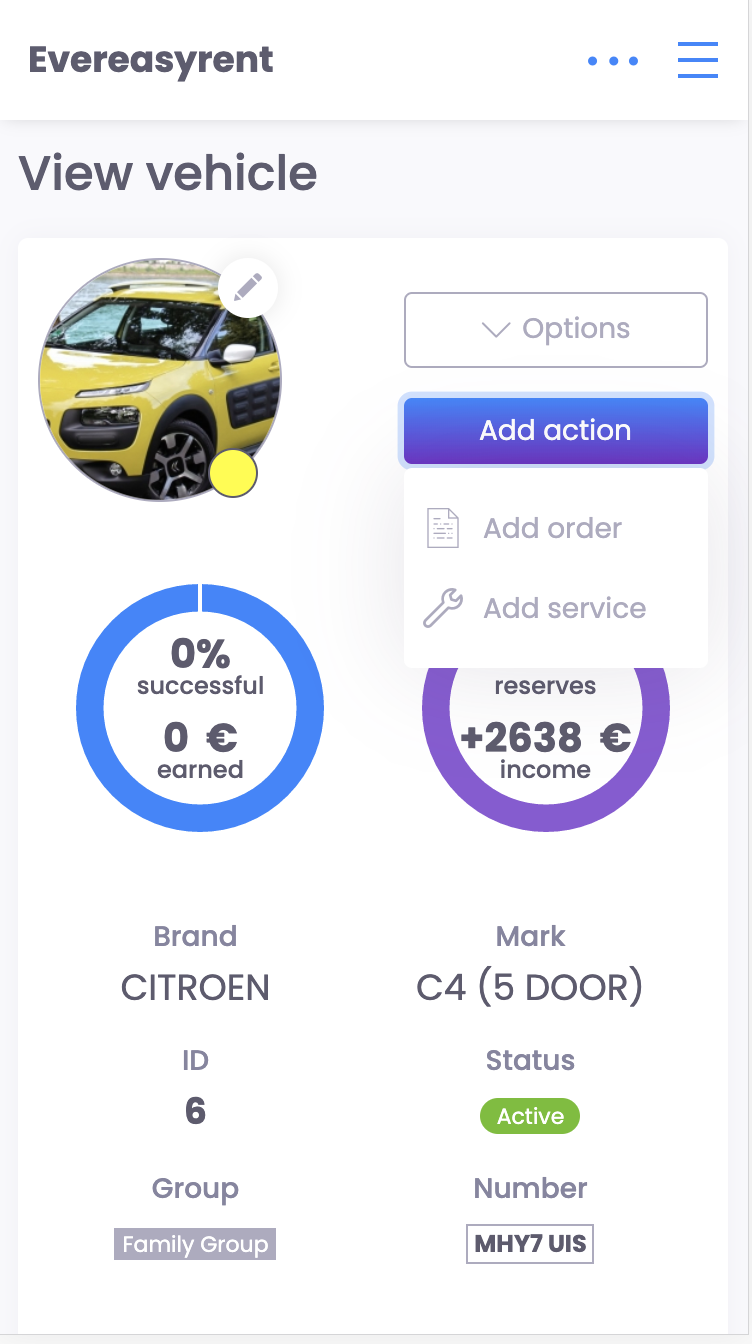
Key information about the vehicle is displayed at the top of the screen. If you click on the “Add action” button, you will be able to create a request for booking or maintenance of this vehicle.
Near the key information are two pie charts. The first shows how many successful transactions were made with this vehicle and how much income it brought to the owner. The second chart shows how many bookings with this vehicle are planned and what income is expected from it.

Below you see the amount of damage in the vehicle and the number of upcoming services. Pressing the “+” mark allows you to edit these positions.
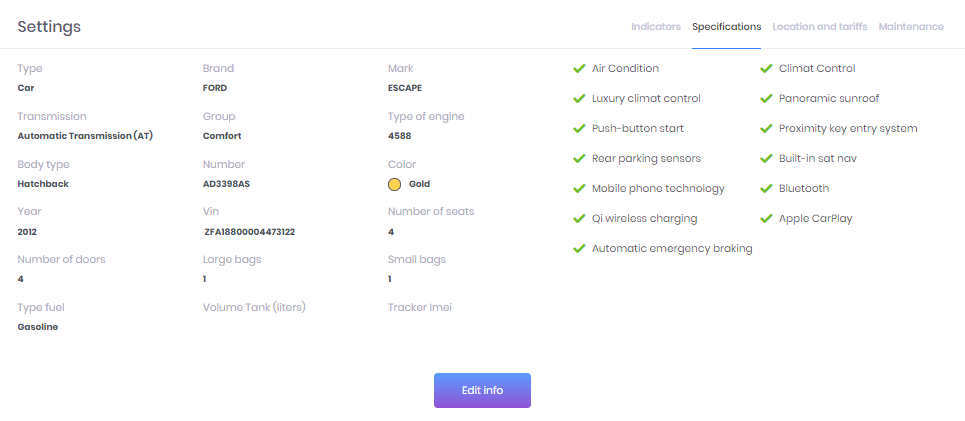
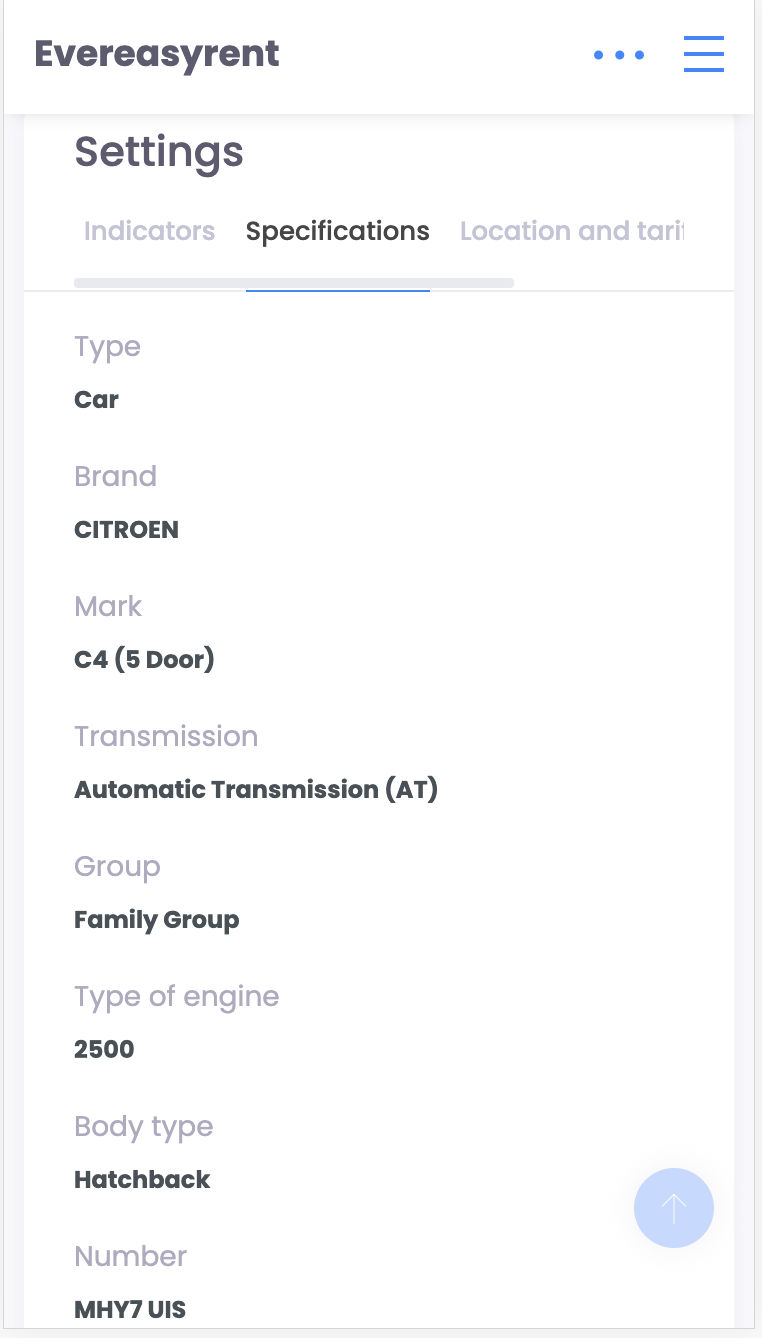
Then the settings block for a specific vehicle follows . It consists of four tabs: Indicators, Specification, Location and Tariffs, Service. By filling out or editing each item here, you provide customers and employees with comprehensive information about the vehicle. At the end, you need to click on the button "Edit info" and save the changes.
The final block in the vehicle card is the history of its orders. It displays the names of all who rented it, profit from transactions and access to viewing, editing and checking the order.
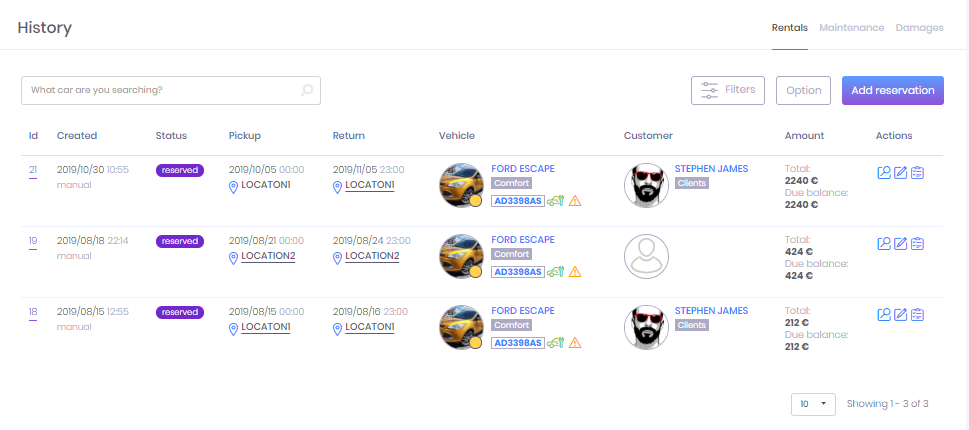
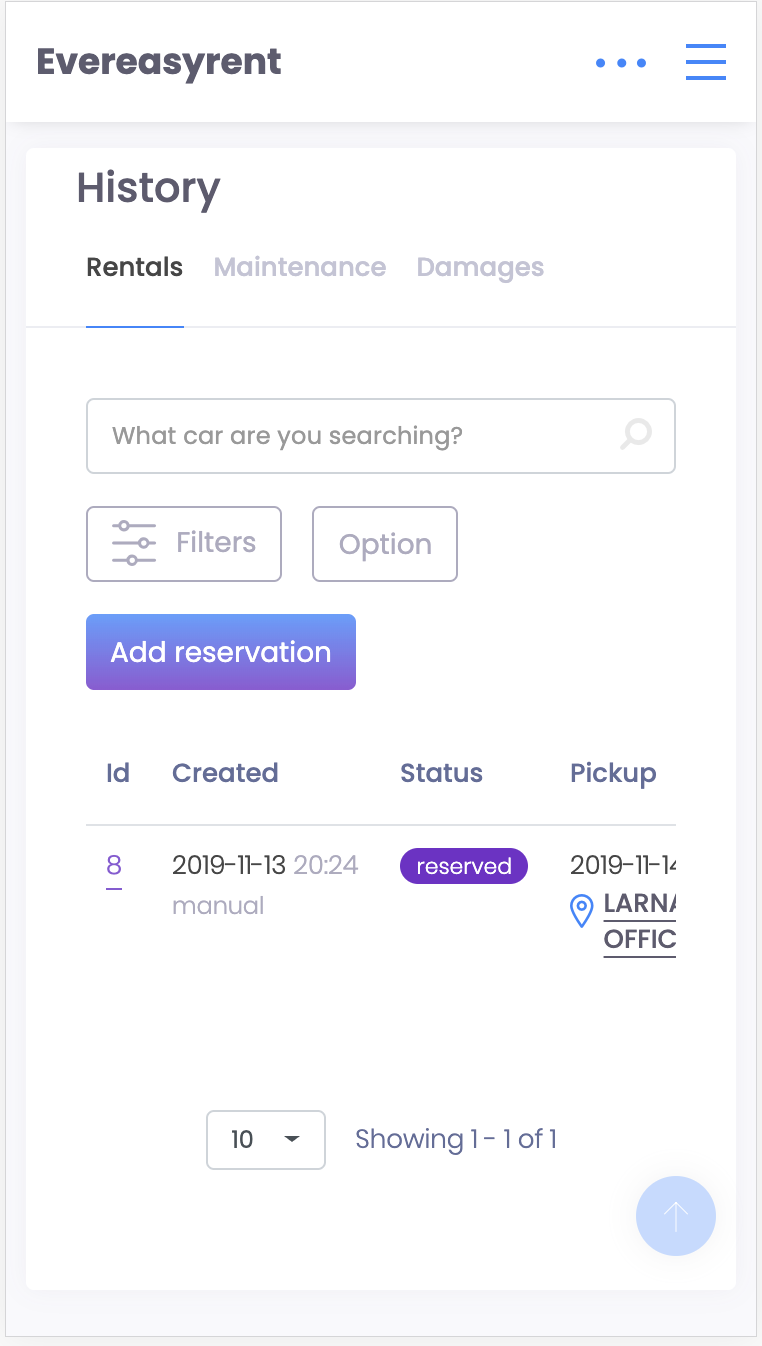
Here you can turn on the filter of vehicle orders, get acquainted with past or upcoming maintenance, and the list of damages.