2.3 Adding a vehicle
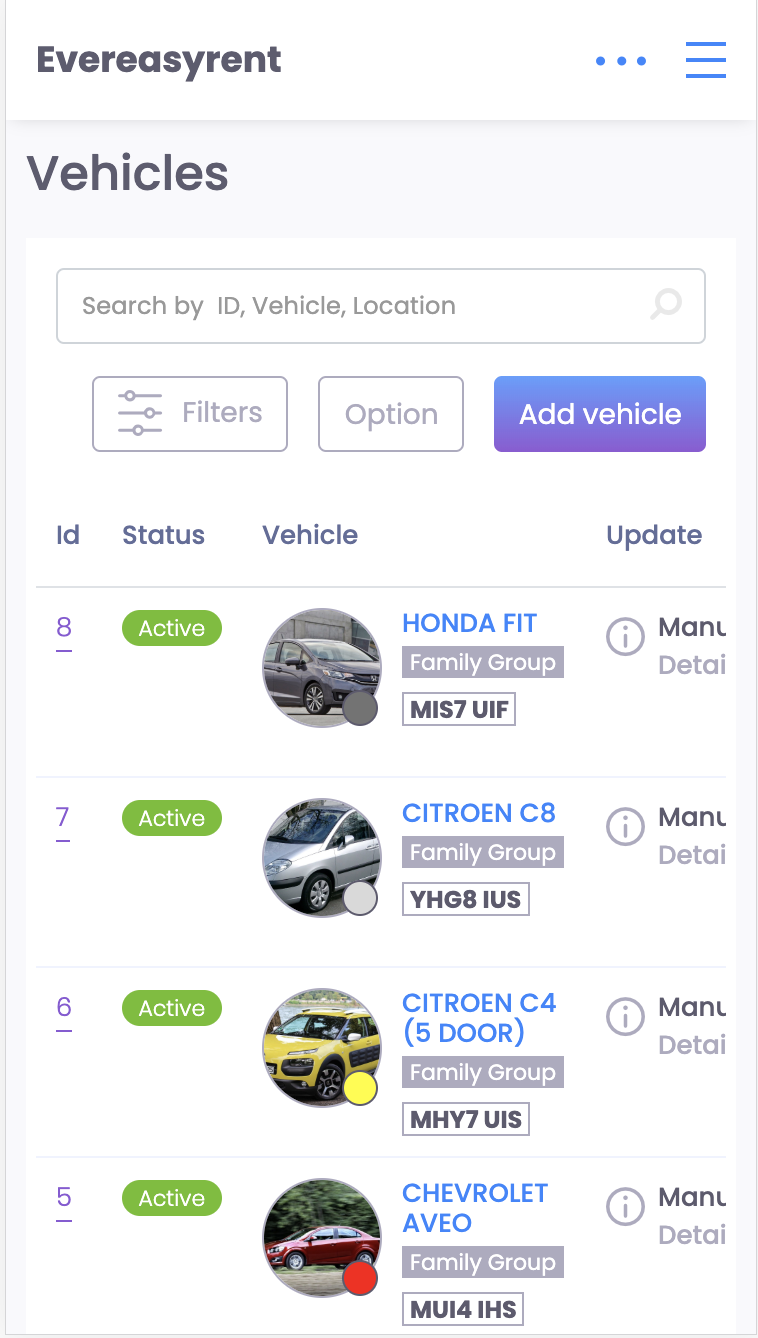
To add a new vehicle to the list of existing ones, go to the Vehicles tab, find the Park section in it, and in the upper right corner you will see the “Add vehicle” button.
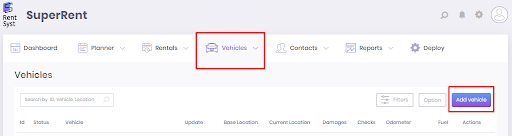
After pressing it, a new screen opens. It consists of four blocks.
At the first stage, you need to enter key information about the vehicle. The unit is called Specifications and requires all details and characteristics to be indicated - from the color and type of the body to the number of doors in the interior. Photos of the vehicle are also loaded here.
After clicking the “Next step” button, proceed to the second block: “Damages and Maintenance”. Here, the vehicle body and its interior are schematically shown - these are two different tabs of this unit.
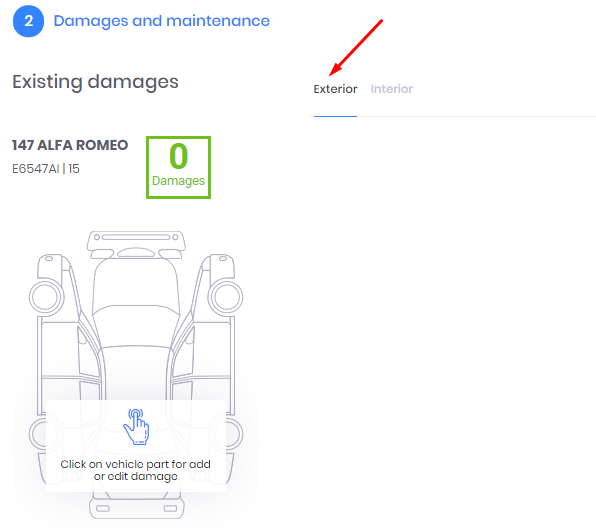

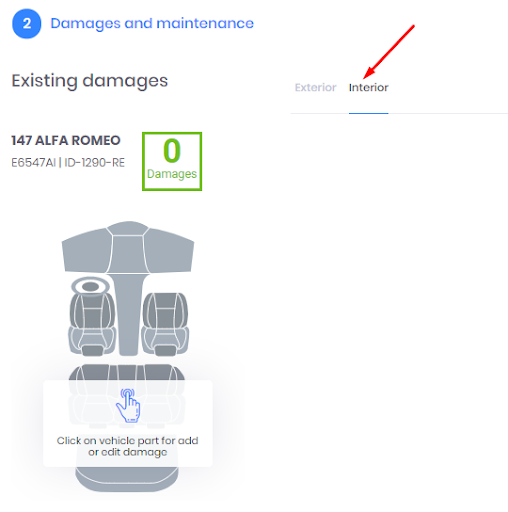
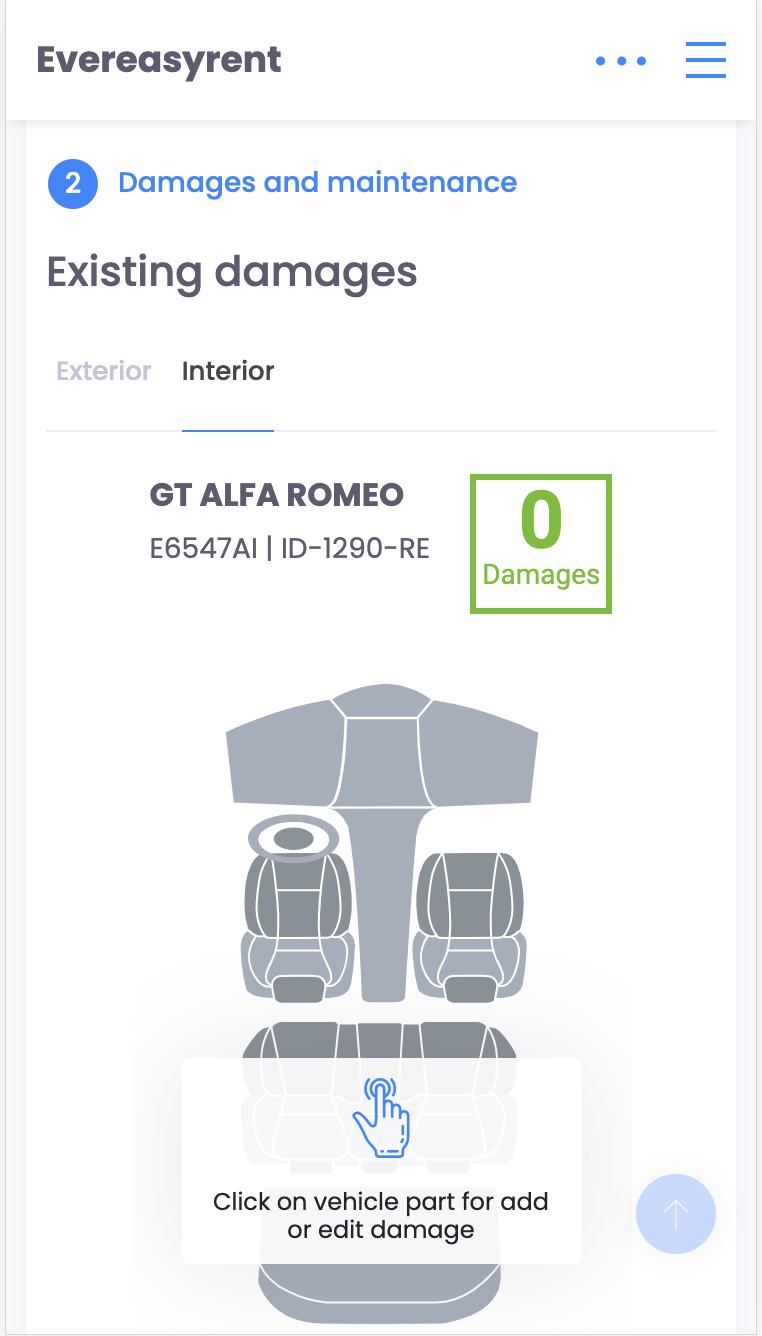
By clicking on a particular part of the circuit, you can mark it as damaged. You can confirm the fact of damage with a photo. So you organize information about flaws in the body and in the cabin.
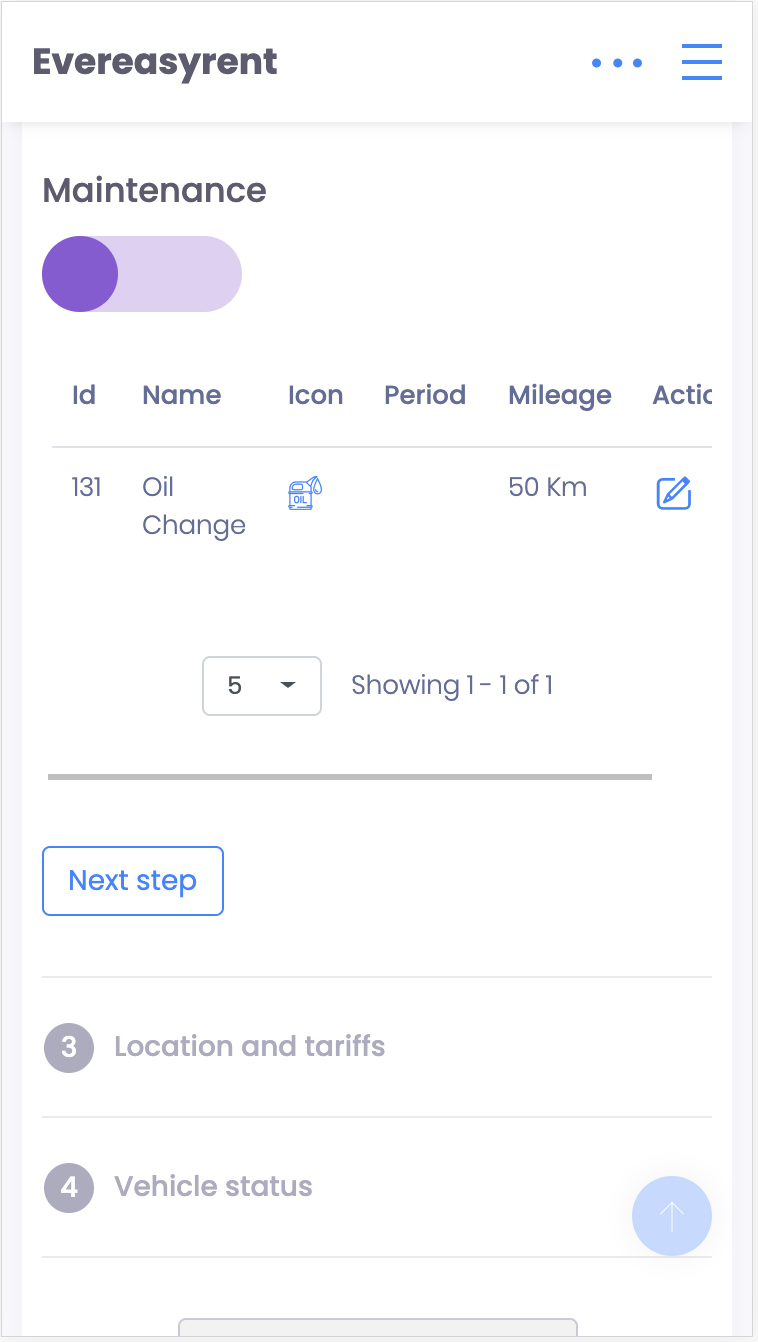
The list of services available for application to the vehicle displays those that were filled in the Grouping & Maintenance section in Settings.

Next you need to fill out the “Location and tariffs” block. Here, from the drop-down list, select which of your rental points is the base for this vehicle, then indicate the cost of the rental day and whether there is an option for delivery outside the base parking.
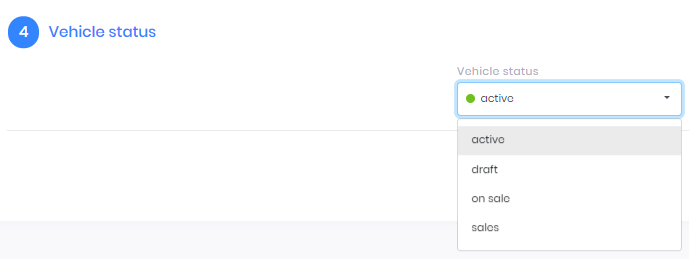
In the final fourth block of the vehicle card, indicate its status. Select one of the items offered in the drop-down list: