7.13 Integration Guide – Razorpay
Connection with the Razorpay provider is very simple. You need to get Key id and Key secret details from your Razorpay account.
1. Login into your Razorpay account and go to your Settings page.
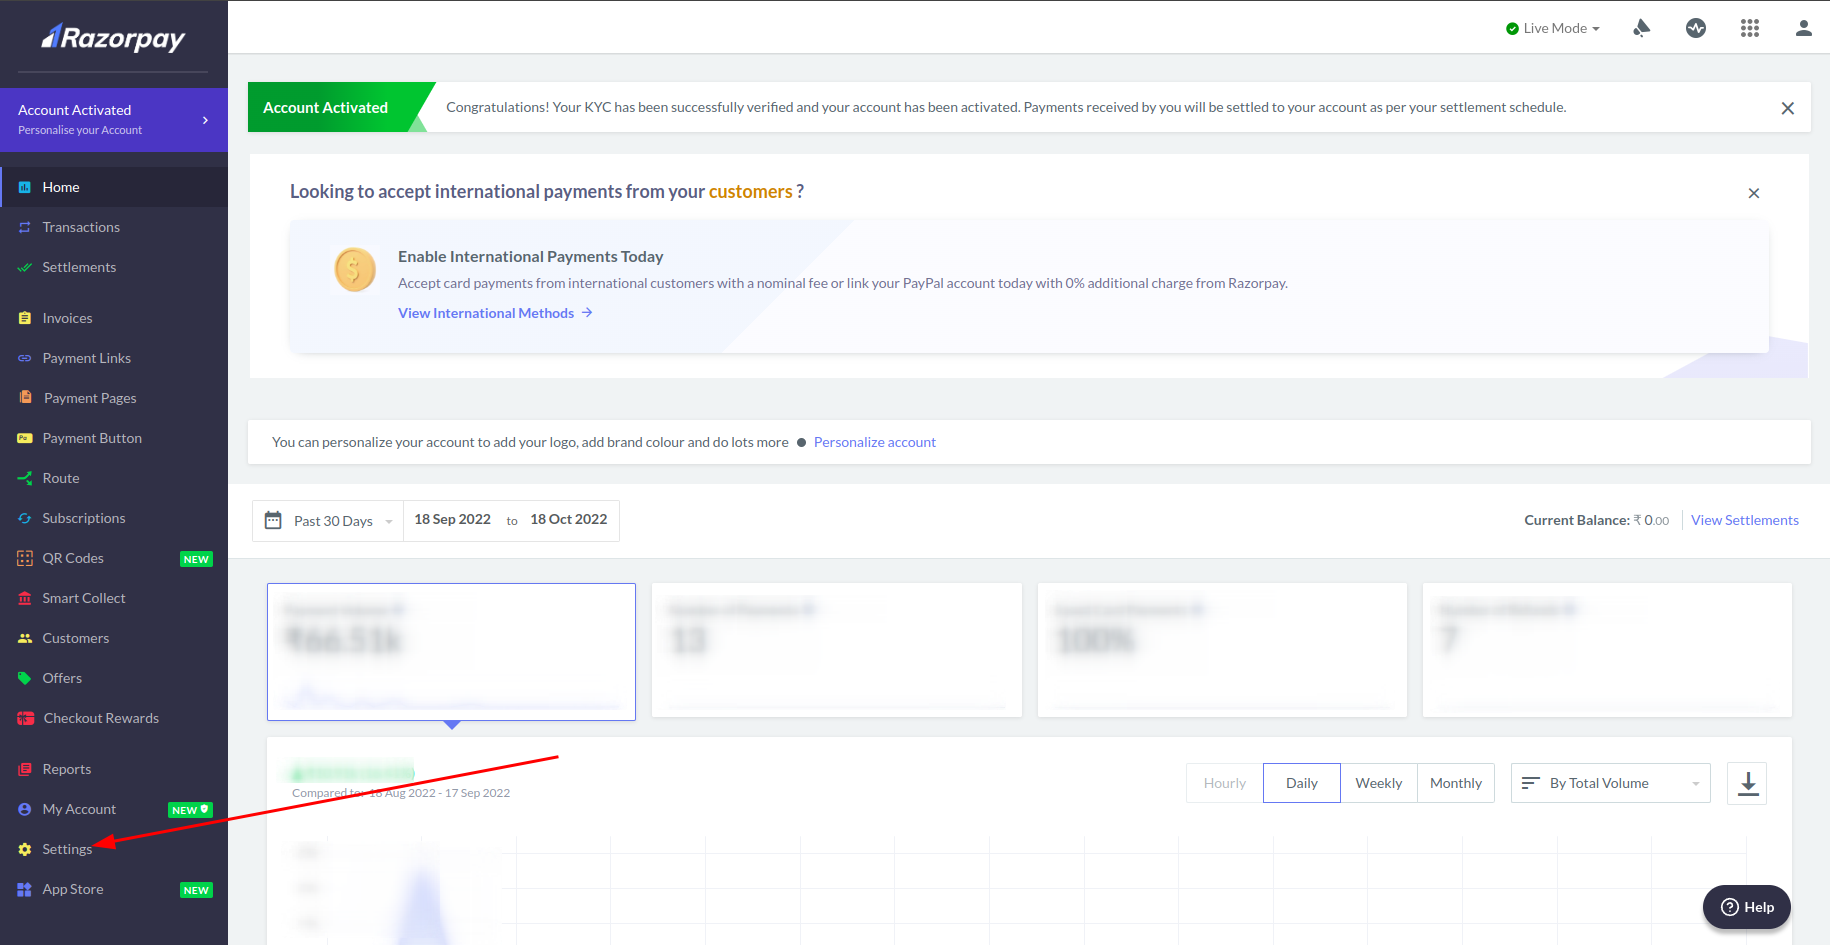
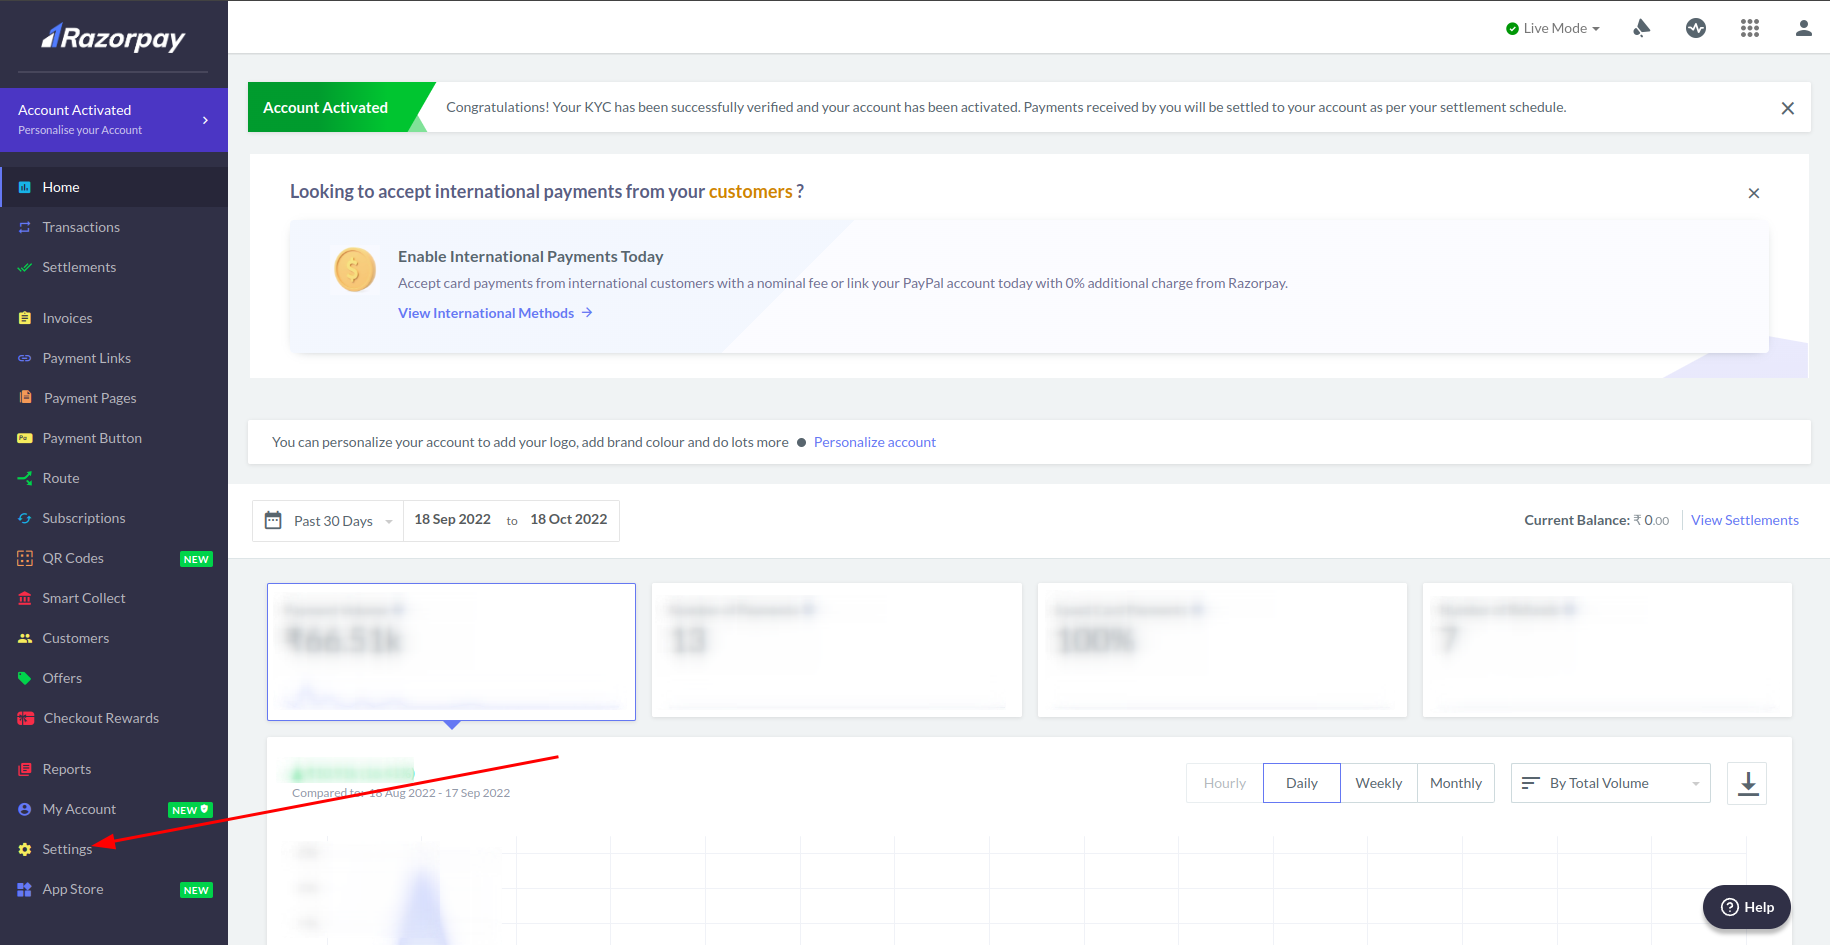
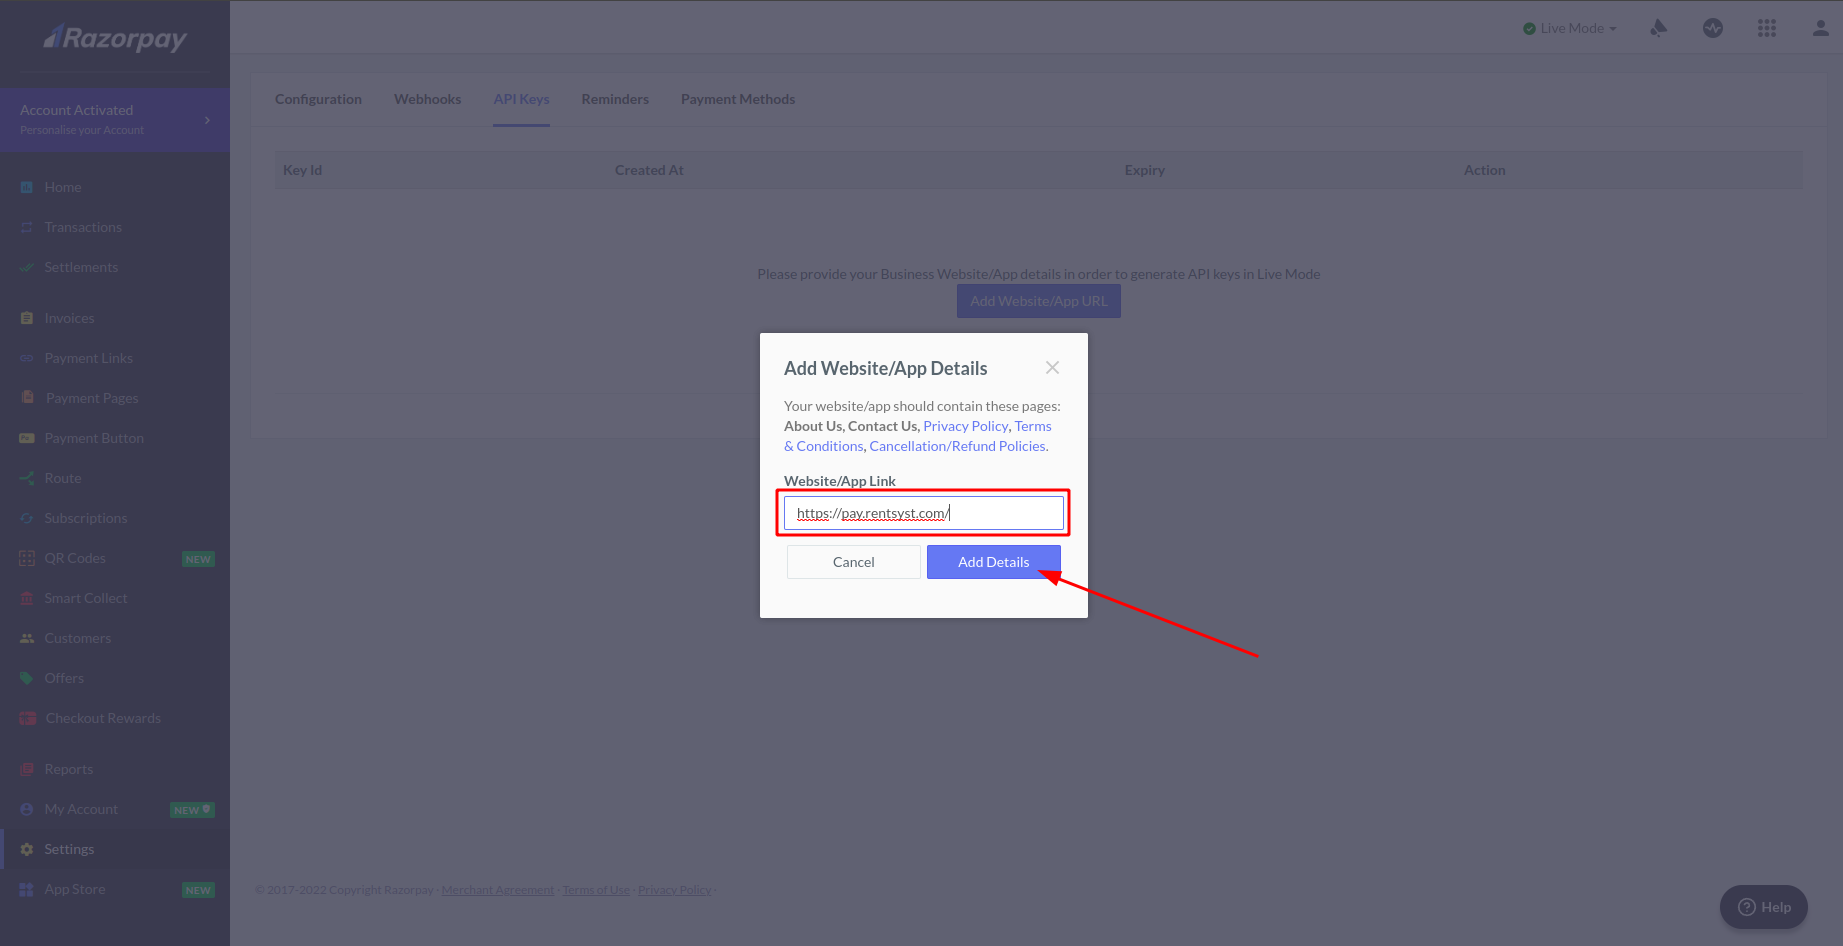
2. On your settings page select tab API Keys. Here you will see a button Add Website/App URL – click on it.
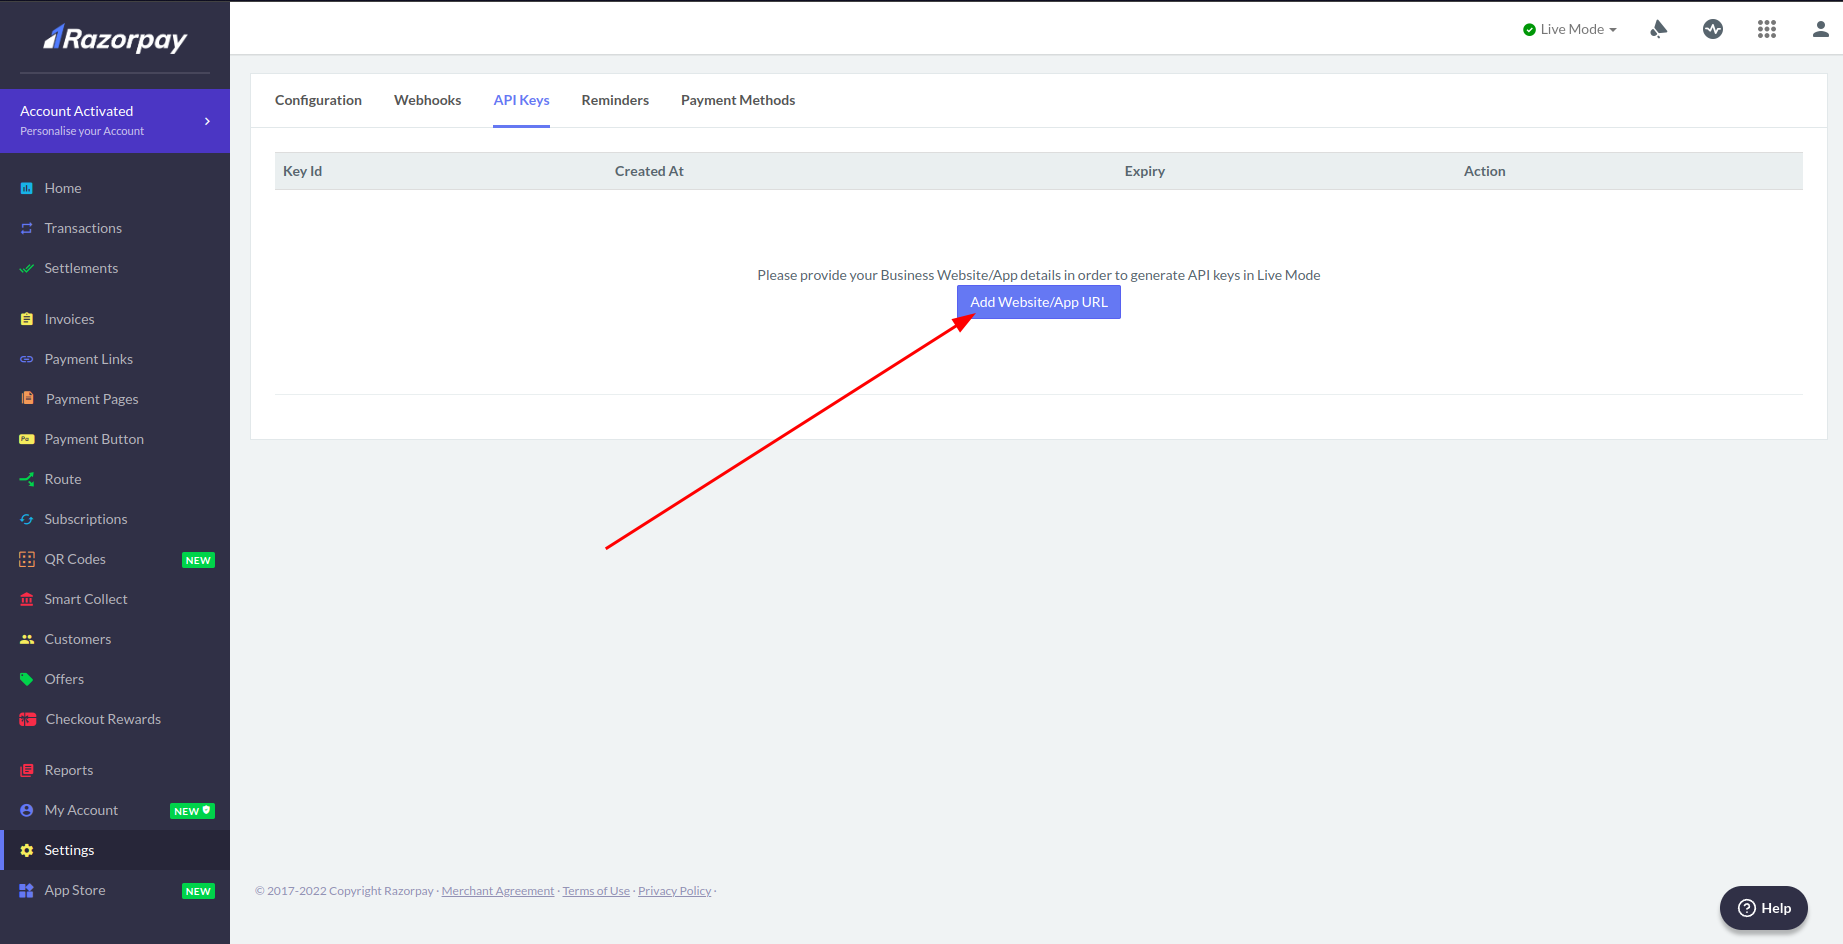
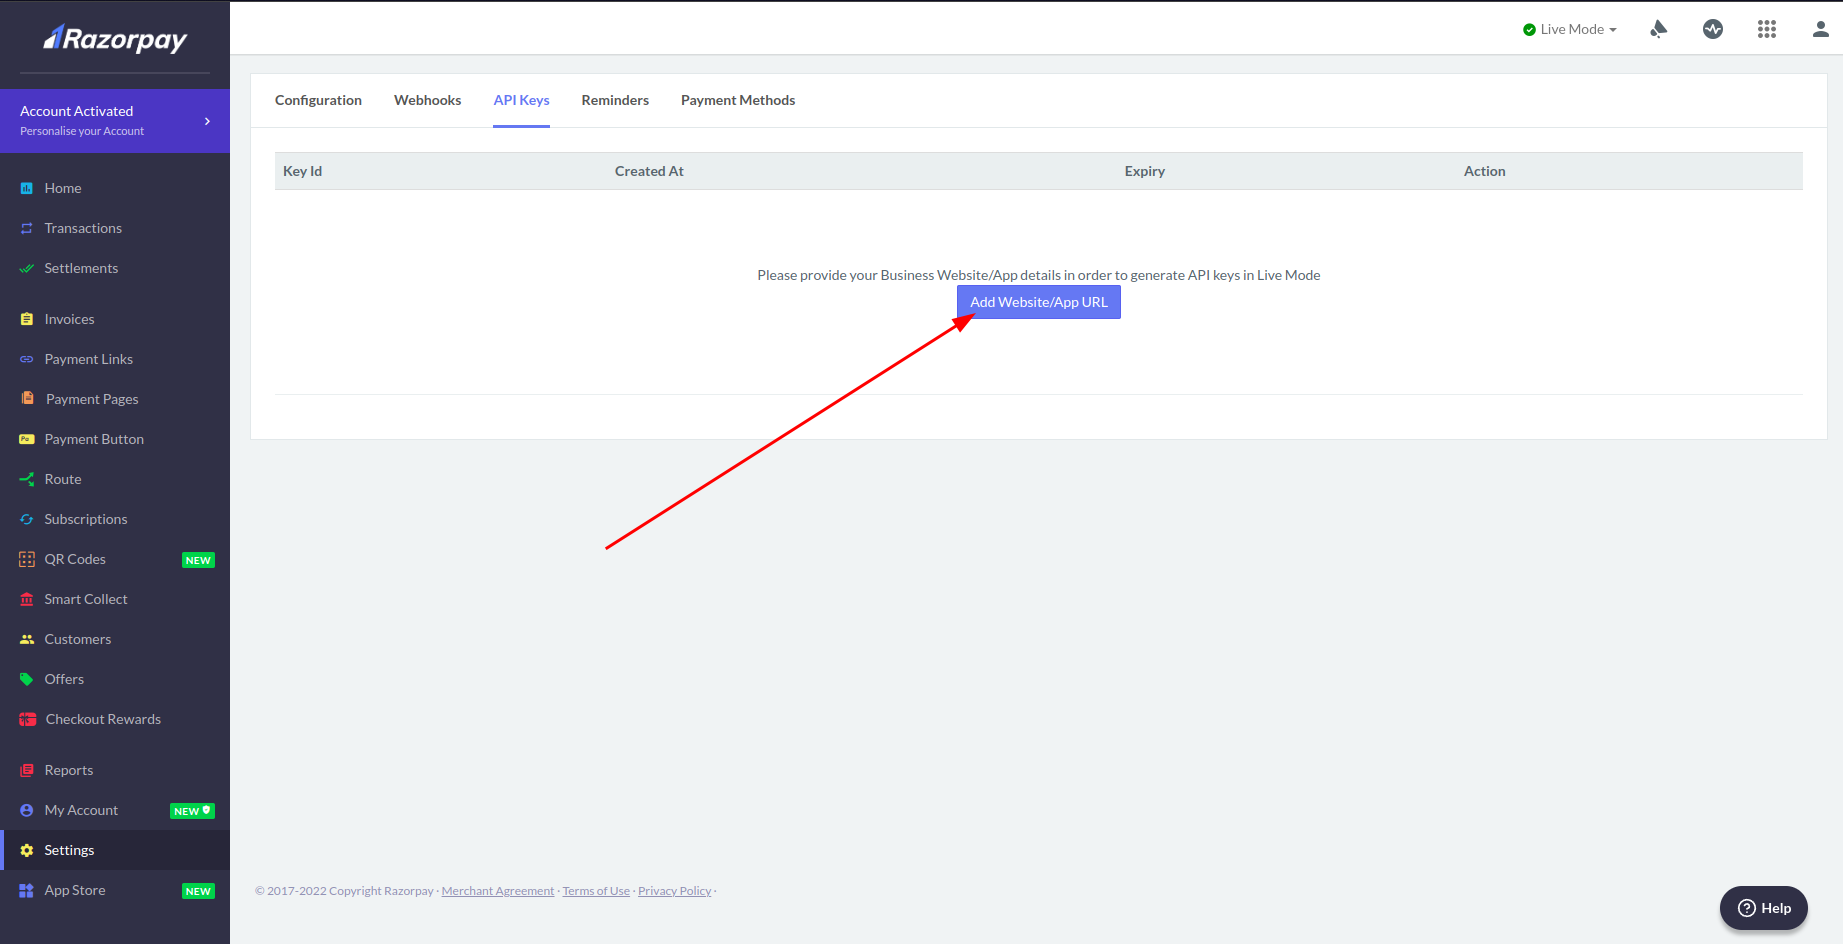
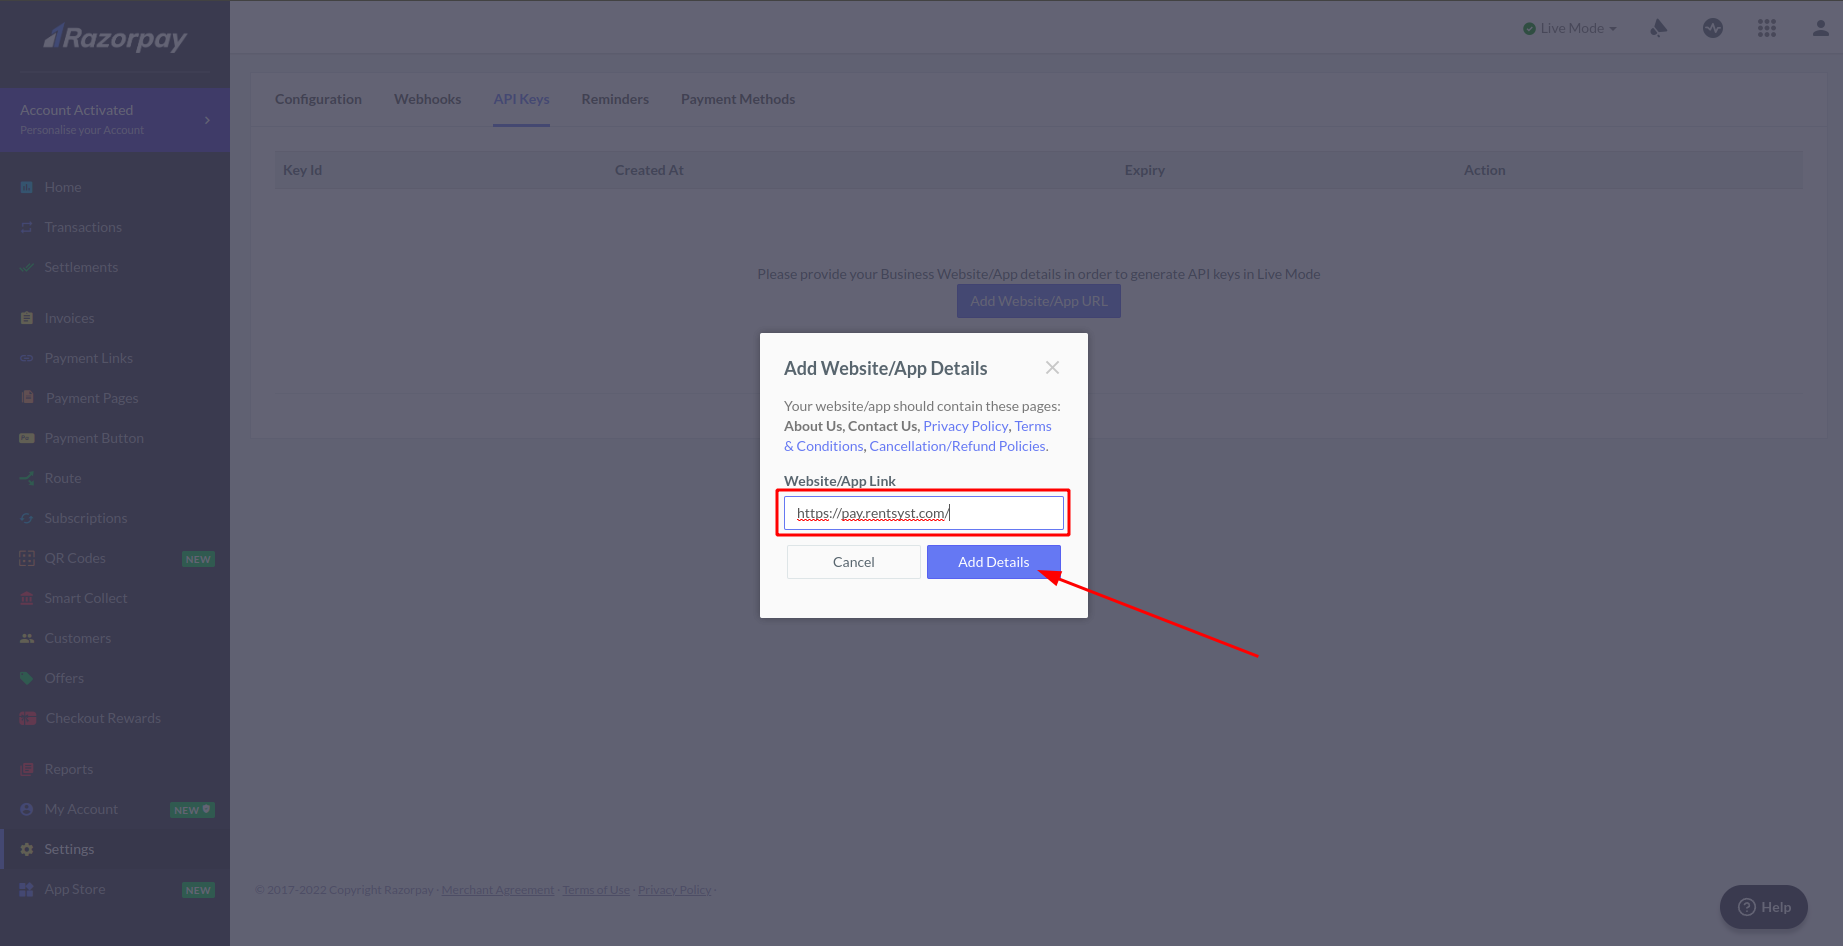
3. In the pop-up window add link: https://pay.rentsyst.com/ , press Add details.
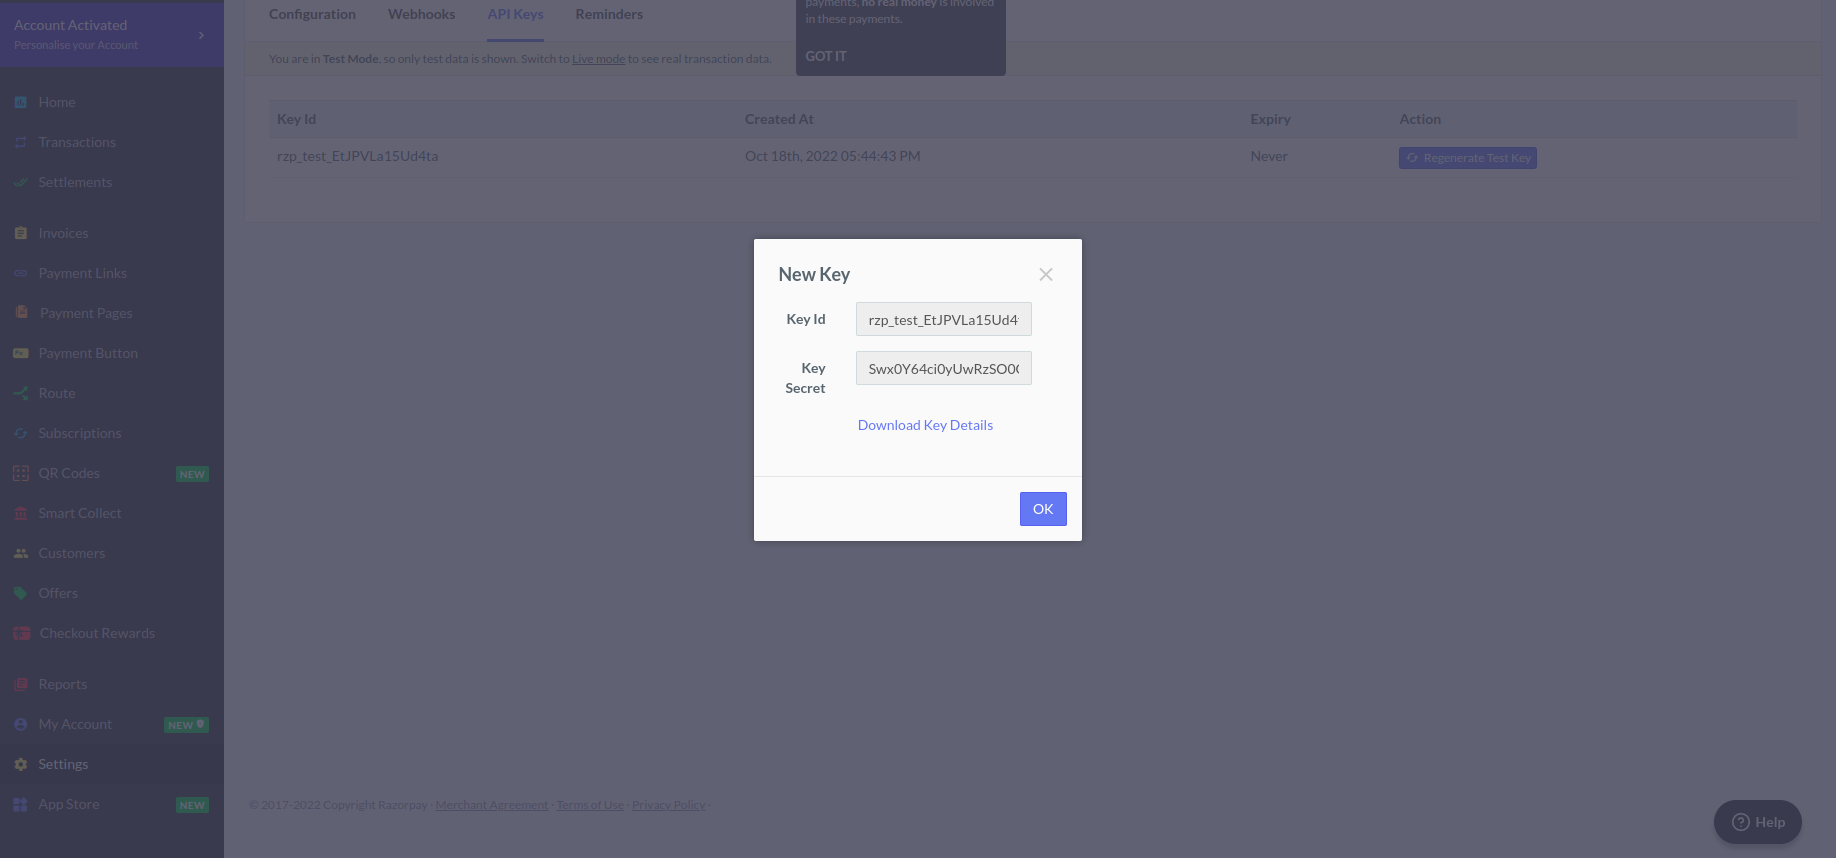
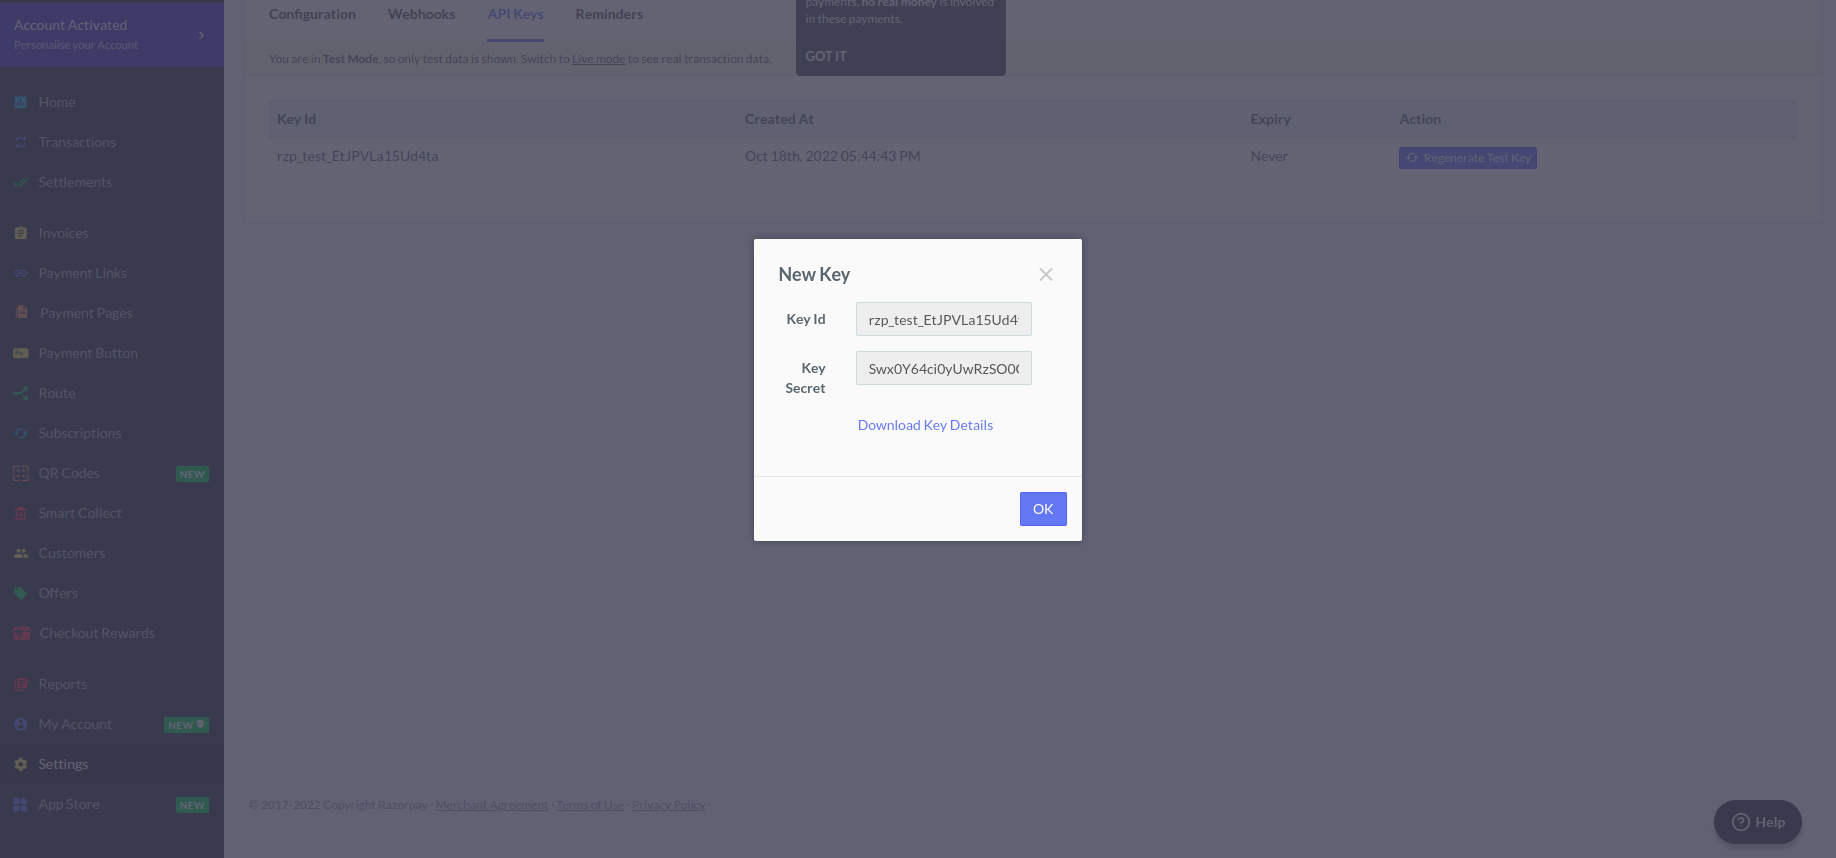
4. Now Razorpay will take some time to do the validation process, and when it will be completed – generate for you Key id and Key secret codes. Copy Key id and Key secret.
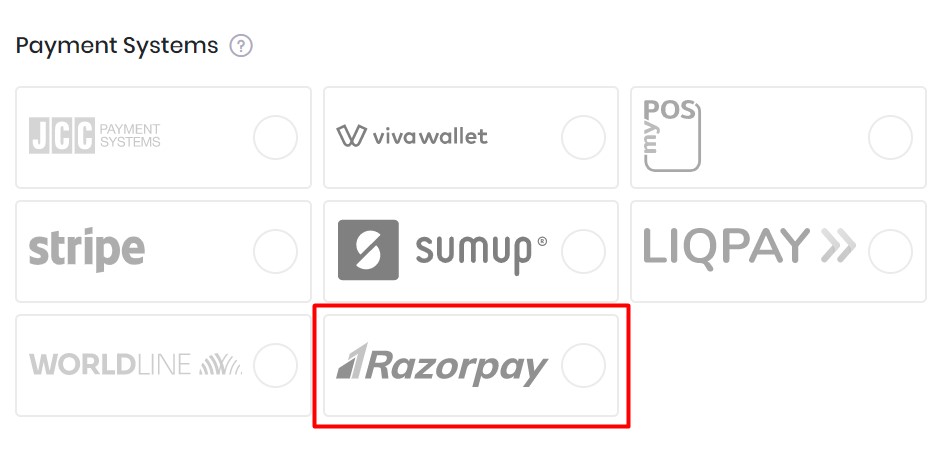
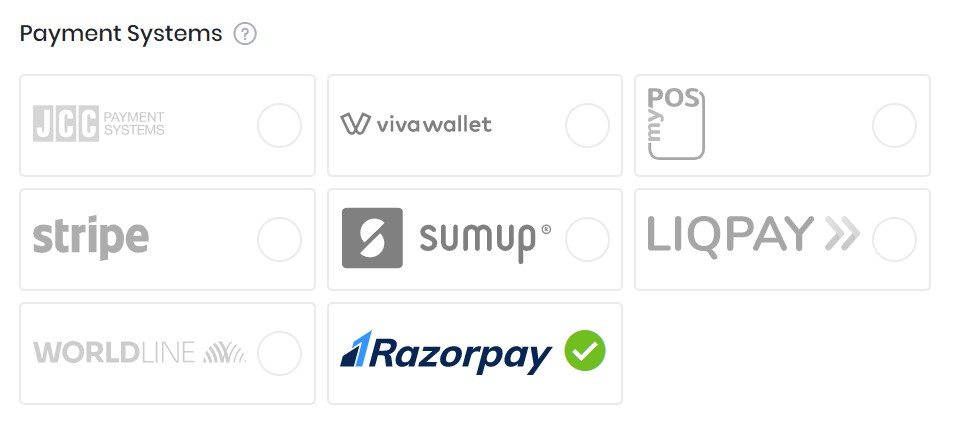
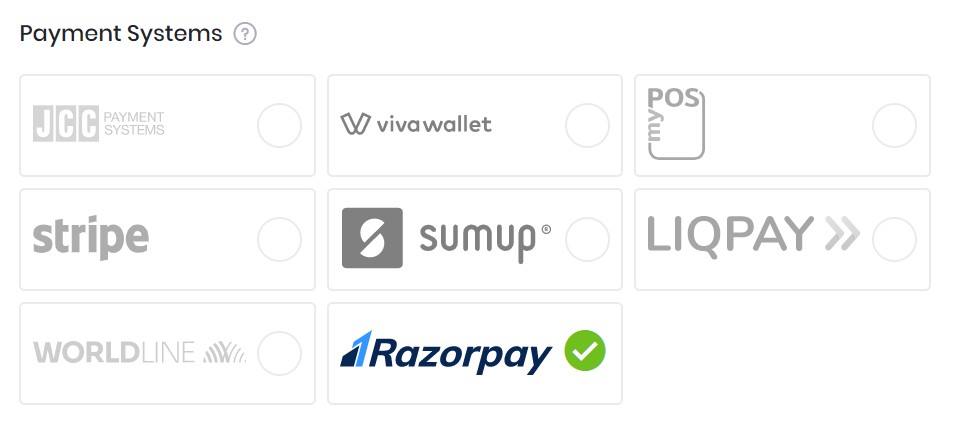
5. Now you have all necessary data for integration. Go to your RentSyst account to the settings section – find Integrations & Agents, and choose Razorpay from the payment systems list.
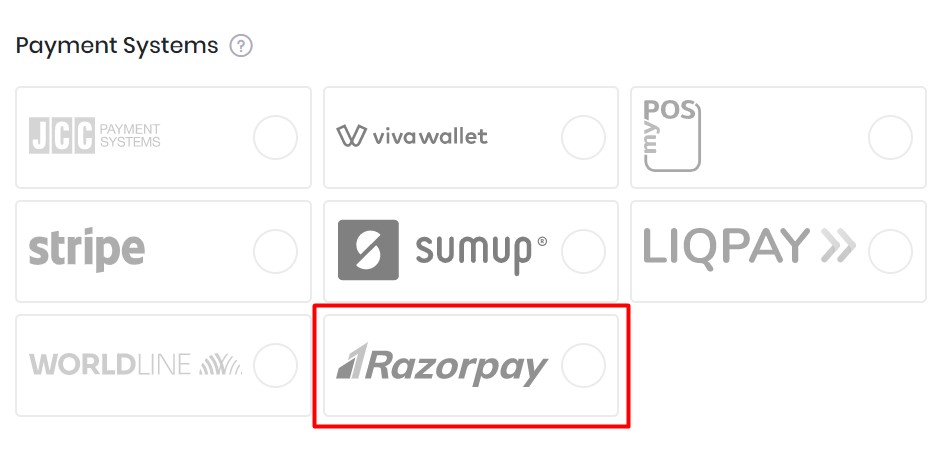
6. Insert Key id and Key secret at Razorpay pop-up window.
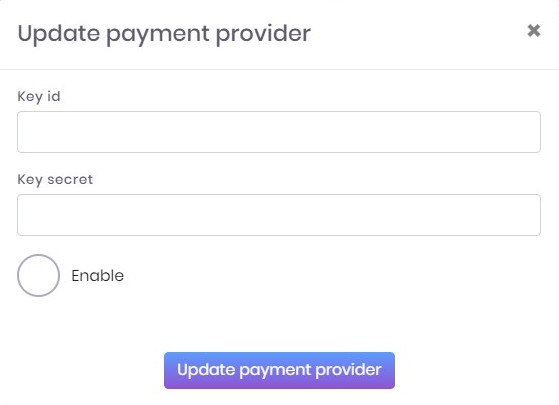
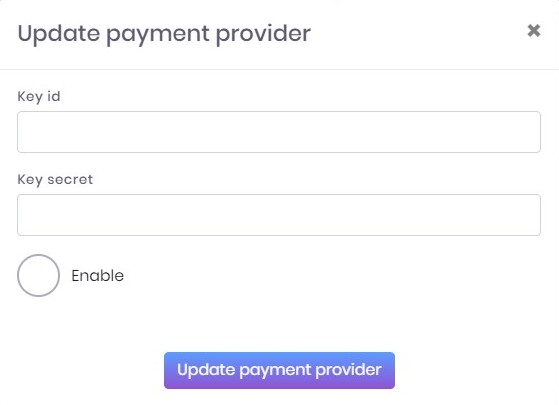
7. Click Enable and Update payment provider buttons to finish the integration process.
8. Pay attention, that you also need to change order confirmation type to Auto Confirmation. This option should be chosen to automate payment process on your website. You can make in on Settings >> System & Modules >> Advanced.


Now you successfully activated Razorpay as the main payment system inside your RentSyst account. Happy using.
Recommend to check our Video guide Integration with Payment Gateway: